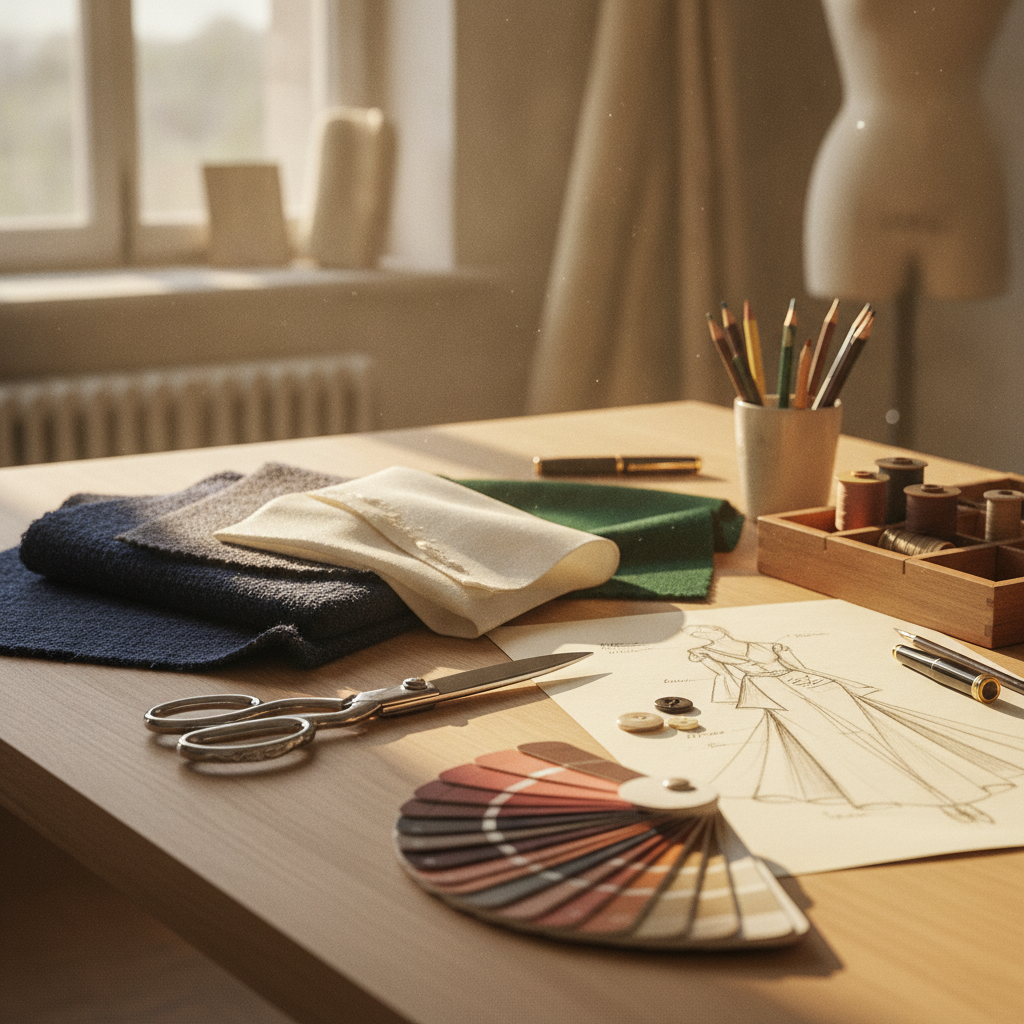
In bespoke tailoring houses and haute couture ateliers, a seasonal collection or custom garment never begins at the cutting shears or the drafting table. It begins with visual synthesis: the disciplined assembly of silhouette archetypes, architectural references, tactile fabric swatches, and deliberate color values. Too often, independent sewists and emerging fashion makers skip this critical phase, transitioning hastily from a fleeting digital reference directly to shears on cloth. The inevitable result is structural dissonance: garments that lack cohesive proportions, fabrics whose drape coefficients fight the drafted silhouettes, and jarring color combinations that flatten under gallery lighting.
A couture mood board is not a decorative collage; it is an architectural contract. It serves as the primary technical anchor connecting the artistic vision of the creative director to the precision drafting of the pattern maker and the tactile instincts of the sample machinist. By mastering the science of visual curation, chromatic extraction, and textile hierarchy, you elevate your creative output from disjointed sample-making to unified, museum-grade collections.
The Four Structural Pillars of a Professional Fashion Mood Board
To communicate both poetic narrative and rigorous garment engineering, an atelier-grade concept board must be structured into four distinct, interdependent layers. When these layers align, the transition from two-dimensional concept to three-dimensional toile becomes frictionless.
1. The Primary Aesthetic Anchor
Every cohesive collection requires a single dominant visual reference that establishes the narrative tension. This might be a macro photograph of Brutalist concrete forms, a high-contrast plate from 1950s Cristóbal Balenciaga couture, or an organic geological formation. The anchor dictates proportion and line: sharp horizontal seams versus cascading biological ruffles, rigid architectural tailoring versus bias-cut fluid draping. Limit your board to one or two primary anchors to avoid diluted thematic focus.
2. The Chromatic Harmony: The 5-Tone Atelier Rule
Amateur palettes often fail because they select colors based on flat swatches without considering light reflectance, fabric sheen, or tonal distribution. Master colorists in haute couture utilize a five-tone distribution strategy:
- Foundational Ground (40%): The base canvas fabric (e.g., midnight wool twill, unbleached linen, or slate faille) that establishes the dominant visual weight.
- Secondary Structural Tone (25%): The secondary supporting textile providing depth in trousers, jackets, or major paneling.
- Bridge Neutral (15%): A subtle, transitional shade that harmonizes warm and cool values across layers, often utilized in lining fabrics, topstitching, or undercollars.
- High-Contrast Accent (10%): A striking, high-chroma tone reserved for focal points, bound buttonholes, collar piping, or statement outerwear.
- Deep Shadow / Anchor (10%): The darkest tonal benchmark, ensuring the collection possesses visual grounding and contrast depth under varying lux levels.
3. The Tactile Hierarchy: Balancing Hand, Weight & Weave
A mood board must convey physical dimension. In a technical presentation, silhouette sketches must always be paired with textile references that specify fiber composition, weave structure, and weight in grams per square meter (GSM). Juxtapose structural crispness (such as silk gazar or 380 GSM wool broadcloth) against kinetic fluidity (such as silk crepe de Chine or rayon jersey). This tactile dialogue ensures you do not inadvertently draft a tailored jacket pattern for a fabric that possesses zero internal resistance.
4. Silhouette Proportions and Technical Directives
The lower quadrant of your board should always translate abstract art into concrete geometry. Pin technical flats (croquis with seamlines, dart placements, and pocket specifications) alongside your aesthetic references. This clarifies how an architectural curve in an inspiration photo transforms into a contoured princess seam, an exaggerated drop-shoulder sleeve, or an asymmetric godet inserted along the true bias.
🛠️ Interactive Atelier Tool: Fashion Mood Board & Color Palette Studio
Skip manual math and cutting guesswork. Use our free interactive tool to instantly calculate your exact measurements, fabric yield, and project specifications:

Step-by-Step: Curating a Technical Haute Couture Concept Board
Step 1: Calibrate Visual Scale on an Infinite Canvas
Begin by establishing visual hierarchy. The human eye reads concept boards hierarchically; if all images share identical dimensions, visual fatigue sets in, and the thematic hierarchy is lost. Place your primary anchor image at 2.5 times the scale of secondary details. Surround it with contextual imagery: vintage tailoring seam finishes, raw pigment textures, and architectural silhouettes. Maintain intentional negative space across your canvas to let individual components breathe.
Step 2: Precision Color Sampling from Textile References
Rather than picking arbitrary synthetic color codes from a digital wheel, sample chromatic values directly from high-resolution scans of physical fabrics or real-world reference imagery. When sampling:
- Extract the color from the mid-tone of the textile fold, avoiding specular highlights caused by photography lights or deep shadow troughs in the weave.
- Examine the hex codes for undertone stability. Ensure your warm neutrals (such as ecru or camel) do not clash with olive or cool-grey undertones across secondary garments.
- Pin discrete color chips adjacent to their intended garments to communicate exact fabric dye lot expectations.
Step 3: Document Textile Physics and Interfacing Directives
Beside every garment silhouette on your board, attach virtual or physical atelier notes detailing the technical properties required to realize the sketch:
- Grainline Direction: Note whether garments require lengthwise warp stability for crisp pleating or true bias draping (45-degree angle to the selvage) for diagonal body contouring.
- Drape Coefficient: Note whether the fabric should break sharply (high stiffness, like organza or heavy denim) or flow continuously without creasing (low stiffness, like viscose or double georgette).
- Internal Architecture: Specify canvas interfacings, horsehair braid hems, or stay tapes needed to support the external shell fabric.
Translating Board Curation into Flawless Atelier Execution
Once your mood board is finalized, it becomes the ultimate diagnostic tool throughout the pattern drafting and garment construction stages. At every milestone, compare your progress back to the concept board:
The Muslin Fitting Check
During the toile stage, place your unbleached calico prototype in front of your mood board. Does the silhouette capture the architectural tension of your primary visual anchor? Are the shoulder proportions, lapel gorge heights, and hem widths balancing the visual weights established in your digital layout? Adjust balance lines, ease distribution, and dart rotations until the physical muslin mirrors the mood board’s intent.
Preventing Collection Drift
The most common failure in bespoke capsule design is “concept drift”—the tendency for individual garments to evolve independently during construction until the finished ensemble looks disconnected. Keep your concept board accessible at every stage. If a planned silk satin blouse suddenly feels too insubstantial next to a completed tweed coat, refer to your secondary textile swatches to adjust interfacings or substitute a heavier silk crepe morocain before cutting.
Streamlining Your Production Pipeline
A pristine visual vision must always pair with rigorous atelier math. Once your mood board has established the exact silhouettes, textile choices, and yardage demands of your capsule, calculate your cutting layouts precisely to minimize expensive waste on luxury yardage using our Fabric Layout Estimator. Furthermore, if you are developing custom garments or couture pieces for private clients, ensure that your design choices, pattern development hours, and fabric investments yield sustainable margins using our Break Even Calculator.
By transforming your conceptual process into an organized, technical masterwork, you ensure that every cut into fabric is backed by intentional design, rigorous harmony, and timeless atelier craftsmanship.
Do you enjoy the content on Agenda Creativa?
Your contributions help me create new articles, share creative ideas, and keep this platform alive! If you like what I do and want to support my work, you can buy us a coffee.
Every cup of coffee means more than just a gesture – it's direct support for my passion to create inspiring and useful content. Thank you for being part of this journey!
☕ Buy me a coffee