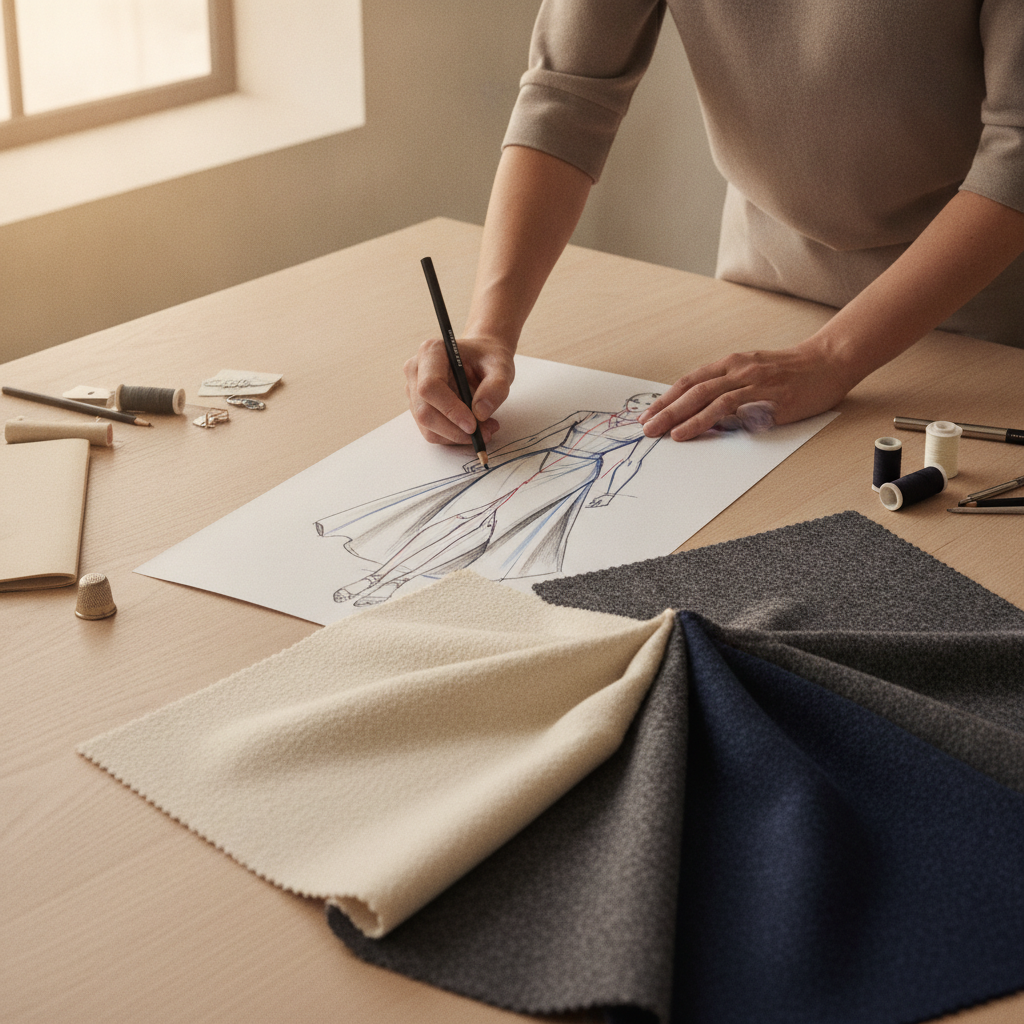
In the quiet sanctuary of the haute couture atelier, every masterpiece begins not with shears striking linen, but with the deliberate stroke of graphite across paper. Yet, between the initial spark of artistic inspiration and the physical realization of a garment on the cutting table lies a notorious chasm: the miscommunication between creative silhouette rendering and rigorous technical pattern drafting. Too often, an exquisite fashion illustration promises fluid volume and architectural grandeur that disintegrates the moment it meets the unyielding physics of warp, weft, and human anatomy.
To design clothes that can actually be constructed with balance and grace, the modern couturier must master the dual discipline of fashion drawing: translating expressive, three-dimensional movement into an exact technical working sketch. This masterclass examines the geometric principles, drape mechanics, and anatomical anchors required to turn your fashion illustrations into flawless blueprints for pattern development.
The Triad of Atelier Illustration: Concept, Construction, and Flat
In classical atelier methodology, a design does not jump immediately from an impressionistic doodle to pattern paper. Professional practice delineates three distinct phases of visual translation, each serving a distinct mechanical purpose:
- The Mood & Silhouette Sketch: Drawn rapidly, frequently utilizing an elongated 9-head or 10-head croquis figure. Its purpose is to capture attitude, dramatic proportion, negative space, and tonal contrast. It dictates how the garment breathes in motion, establishing whether the silhouette falls into an amphora, trapezoid, hourglass, or column profile.
- The Technical Working Sketch: Grounded on an anatomically realistic 8-head or 8.5-head figure. Here, poetic license yields to structural reality. Darts are mapped precisely in relation to bust apexes and pelvic crests; seamlines follow bone structure; and design ease is visually delineated against body contours. This is the patternmaker’s primary roadmap.
- The Flat Technical Specification (Tech Pack Flat): A strictly two-dimensional, symmetrical orthographic drawing showing the garment laid completely flat, front and back. It omits human curves to catalog every stitch interval, pocket welt depth, zipper termination, topstitch margin, and internal facing edge.
The catastrophic mistake made by amateur makers is skipping the intermediate stage—attempting to draft a paper pattern directly from an elongated runway sketch. Without translating the concept into a proportionate working sketch, waistlines inevitably end up riding dangerously into the ribcage, armscyes constrict the bicep, and hem sweeps lack the circumference necessary to clear the stride.
The Geometry of the Croquis: Anchoring Anatomical Landmarks
Every working sketch must respect the body’s balance points. While runway illustration elongates the leg line from the lower pelvic floor to create visual drama, pattern cutting requires an unshakeable relationship between the garment’s anchor zones and skeletal pivot points.
1. The Plumb Line (Center Front Line of Balance)
Every balanced garment hangs from gravity. The plumb line drops vertically from the pit of the neck (the suprasternal notch) perpendicular to the floor, passing through the navel and falling midway between the ankles when the weight is evenly distributed. If your design features asymmetrical volume—such as a sweeping spiral flounce or one-shoulder cape—you must sketch the plumb line first to calculate counter-weights in the garment’s internal boning or waist stay.
2. The Shoulder Slope and Armscye Relationship
The natural human shoulder slopes downward at approximately 18 to 22 degrees. Amateur sketches often depict shoulders as horizontal coat-hangers, leading to patterns that buckle across the collarbone. In your working sketch, anchor the shoulder line from the cervical vertebra (nape) to the acromion process (shoulder bone tip). The depth of the armscye must clear the axillary fold (armpit) by a minimum of 2.5 cm (1 inch) for tailored outerwear, or skin-close for stretch foundations, establishing the exact scye depth needed for sleeve cap drafting.
3. The Pelvic Level and Apex Coordinates
The apex of the bust serves as the focal point for all front bodice dart manipulation. In a technical sketch, mark the apex coordinates precisely: horizontally equidistant from the center front plumb line (bust separation) and vertically positioned approximately level with the middle of the armscye. Misjudging this landmark leads to darts that either stop prematurely, creating puckered fabric bubbles, or cross the bust point entirely, creating unflattering tenting.
🛠️ Interactive Atelier Tool: Fashion Design Sketchpad & Croquis Studio
Skip manual math and cutting guesswork. Use our free interactive tool to instantly calculate your exact measurements, fabric yield, and project specifications:
Translating Fabric Physics: Rendering Grain and Drape
A masterclass sketch does not merely depict lines; it illustrates fabric behavior under the laws of tension and shear. When you lay down graphite or marker strokes, you must signal to the patternmaker how the textile’s grainline will intersect with the body.
Drape Line Typologies
- Pipe Folds (Columnar Drape): Formed when fabric is secured along a horizontal seam (like a gathered waistband) and hangs freely under gravity. In stiff fabrics like silk gazar or heavy wool gabardine, pipe folds maintain rigid, cylindrical profiles with crisp hem undulations. In fluid crepes or silks, pipe folds collapse into dense, overlapping vertical ripples.
- Zigzag and Compression Folds: Manifest around the crotch, inside elbow, and behind the knees where excess fabric buckles under body articulation. Sketching these indicates the necessity for structural wearing ease versus negative stretch ease.
- Spiral and Bias Drapes: When fabric is cut on the true 45-degree bias, the warp and weft threads compress diagonally, pulling the textile into an elongated, clinging contour around convex curves. On your sketch, bias drape must be rendered with sweeping, elliptical contour lines that hug the hip and taper dramatically toward the hem.
Documenting Construction Details: The Anatomy of Seams and Closures
To prepare your illustration for pattern drafting, use standard atelier shorthand to codify structural components directly on the figure:
- Dart Terminations: Draw darts terminating exactly 1.5 to 2.5 cm short of the bust apex or hip curve to account for soft textile roll.
- Stylelines vs. Topstitching: Differentiate structural cut lines from decorative stitches using line weight. Use a confident, solid 0.5 mm stroke for structural seamlines (princess lines, waist yolks, raglan splits) and a delicate, broken dashed line (0.2 mm) for edge-stitching, topstitching, and pick-stitching intervals.
- Break Points and Roll Lines: For tailored jackets, always indicate the “break point”—the precise coordinate along the center front edge where the lapel folds backward over the collar stand. The distance between the break point and the base of the neck determines the roll line angle and the required undercollar canvas pad-stitching tension.
- Closure Terminations: Clearly show zipper stops, button plackets, and eyelet columns. A zipper that ends across a curved hip line will ripple; an experienced sketch indicates whether the closure sits along the rigid center back line of balance or shifts into a side seam hidden under an armscye fold.
From Sketch to Muslin: Calibrating Yield and Ease
Once your working sketch is fully codified with construction landmarks, seamlines, and drape characteristics, you possess the structural blueprint required to draft flat pattern pieces or drape unbleached cotton muslin directly on the dress form. Always establish your base measurements before cutting into fashion fabric.
As you transition from the drawing board to the cutting table, verify that your design’s intended fullness can be supported by your chosen textile. Before drafting massive tiered volumes or intricate gathers indicated on your fashion sheet, use our Gathering Calculator to determine the exact gather ratio required to produce the fullness depicted in your sketch without exceeding pattern table boundaries. Furthermore, never commit your drafted pattern pieces to expensive natural fibers until you have pre-treated your yardage and accounted for dimensional stability using our Fabric Shrinkage Calculator.
By treating your design sketch not merely as an ephemeral creative daydream, but as a disciplined anatomical and structural technical blueprint, you bridge the historic gap between imagination and physical form—ensuring every garment leaves the cutting table balanced, functional, and couture-ready.
Do you enjoy the content on Agenda Creativa?
Your contributions help me create new articles, share creative ideas, and keep this platform alive! If you like what I do and want to support my work, you can buy us a coffee.
Every cup of coffee means more than just a gesture – it's direct support for my passion to create inspiring and useful content. Thank you for being part of this journey!
☕ Buy me a coffee