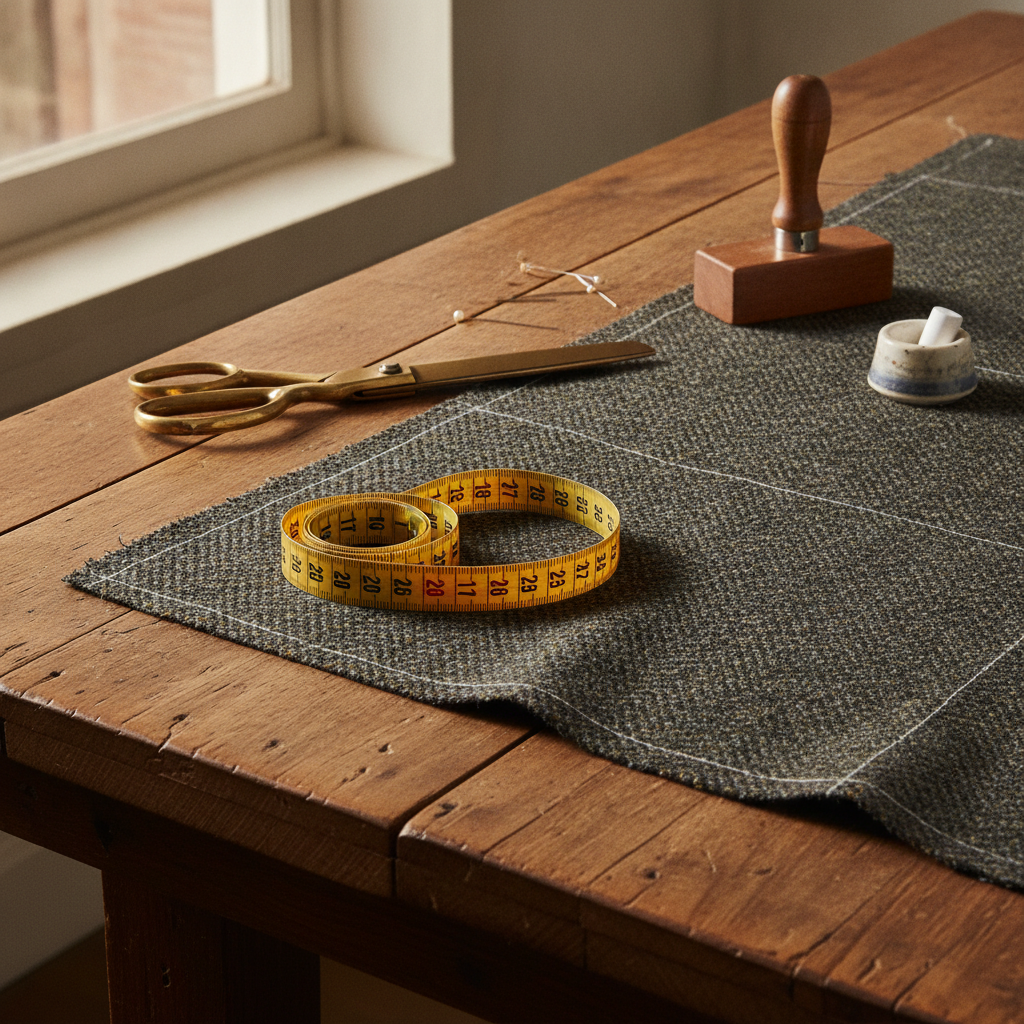
The Anatomy of Fit: Transcending Standardized Pattern Blocks
In haute couture and bespoke tailoring, fit is not achieved at the sewing machine or through aggressive ironwork—it is drafted into the two-dimensional pattern at the cutting table. Standard commercial sizing systems and graded industrial blocks rely on a dangerous myth: that human bodies exhibit bilateral symmetry and proportional uniformity. In a working bespoke atelier, such assumptions lead inevitably to fitting room disasters—collapsing lapels, diagonal stress draglines across the thoracic wall, and sleeves that pitch backward against natural arm swing.
A master tailor’s pattern block is an exact anatomical cartography. Every human frame brings subtle idiosyncratic variables: an acromion process that sits 1.5 centimeters lower on the dominant arm, an exaggerated lumbar lordosis (swayback) that pulls hemline levels out of true, or a forward shoulder carriage developed from modern desk work. To control these variables before the shears ever touch wool canvas or silk zibeline, you must implement a rigorous, repeatable anatomical profiling protocol anchored by physical datum points.

The Anatomical Reference Framework: Establishing Datum Lines
Never measure a client against ambiguous visual landmarks. The muscular and adipose tissue shifts with breath, stance, and undergarment foundation. Before unfurling your measuring tape, you must physically establish your atelier datum lines on the client’s body:
- The Foundation Anchor: Ensure the client is wearing the exact bespoke foundation garments (stays, corsetry, unpadded underwire bra, or tailored trousers) planned for the final silhouette. Measuring over thick casual knitwear or compressive sports bras distorts apex positions and chest depths.
- The Waist Datum Ribbon: Tie a 6mm (1/4-inch) woven elastic ribbon or grosgrain tape snugly around the client’s torso. Have the client exhale, bend gently from side to side, and return to an upright, natural posture. The ribbon will settle naturally at the true anatomical waist—the narrowest skeletal pivot point between the lowest rib and the iliac crest. Pin this ribbon securely; it serves as the vertical zero-axis for all balancing measurements.
- The Skeletal Pins: Palpate and mark the prominent bony landmarks with removable chalk or tailor’s pins: the 7th cervical vertebra (vertebra prominens) at the base of the neck, both acromioclavicular joints (shoulder points), and the bust apexes.
The 3-Tier Couturier Measurement Protocol
Work methodically down the body. Keep the measuring tape taut against the body without indenting the skin. Keep your fingers outside the loop of the tape—sliding fingers underneath the tape artificially inflates circumference measurements by up to 2.5 centimeters.
Tier A: Torso Circumferences and Chest Widths
Accurate upper-body drafting relies on separating skeletal ribcage volume from soft breast tissue:
- High Bust (Upper Chest): Run the tape directly beneath the axillae (armpits), over the pectoral line, and straight across the upper dorsal line of the back. This measurement reveals the true skeletal frame size and determines your base block size.
- Full Bust / Chest: Measure across the fullest projection of the bust mounds or pectoral crest, maintaining an unbroken horizontal line across the inferior angle of the scapulae (shoulder blades).
- Apex-to-Apex (Bust Span): Measure horizontally between the apex points. This dictates the placement of vertical bust darts, princess seams, and chest canvas padding.
- Underbust: Directly beneath the inframammary fold, taken firmly during normal respiration. Essential for corsetry, bra-making, and high-waisted empire silhouettes.
- Front Chest Width: Measure horizontally between the anterior armscye creases, roughly 5 to 7 centimeters below the suprasternal notch.
- Across Back Width: Measure horizontally between the posterior armscye creases across the scapulae. The differential between front chest width and across back width is the single most critical factor in eliminating sleeve binding and front shoulder collapse.
Tier B: Vertical Balances and Spinal Contours
Balance measurements dictate whether a garment hangs plumb or swings forward/backward against the vertical grainline (warp thread):
- Nape to Waist (Back Length): From the 7th cervical vertebra, following the subtle curve of the thoracic spine down to the bottom edge of the waist datum ribbon.
- Front Shoulder to Waist (Over Apex): From the side neck point (where the base of the neck intersects the clavicle), straight over the apex mound down to the waist datum ribbon.
- Shoulder Slope / Drop: The vertical drop from the horizontal neck level down to the acromion tip. Measuring both left and right sides independently is mandatory to detect asymmetrical shoulder drop.
- Underarm to Waist: From the base of the axilla fold down to the top edge of the waist ribbon. Determines scye depth in jackets and armhole drop in evening gowns.
Tier C: Lower Torso, Pelvis, and Extremities
- High Hip (Abdominal Extension): Measured horizontally roughly 8 to 10 centimeters below the waist ribbon across the anterior superior iliac spine (ASIS). Captures prominent abdomen contours that standard hip measurements miss.
- Full Low Hip: The widest horizontal circumference across the trochanteric projections of the femurs and the fullest curve of the gluteus maximus. Document the exact vertical distance from the waist datum to this line (usually 18 to 23 cm).
- Sleeve Length and Pitch: From the acromion point, over a relaxed, slightly bent elbow, down to the styloid process of the ulna at the wrist. Note the resting arm pitch (whether the arm hangs neutral, forward-rotated, or back-rotated).
- Crotch Depth (Rise) and Total Crotch Length: Have the client sit upright on a flat, unpadded drafting table. Measure vertically from the waist datum ribbon at the side seam down to the table surface. Follow this with a tape passed from front waist ribbon, through the perineum, to center back waist.
Documenting Posture Variations and Asymmetry
A client is rarely a rigid sculpture. Master dressmakers assess posture along three primary planes during profiling:
- Kyphosis vs. Flat Back: Prominent curvature of the dorsal spine requires an increased Back Balance length and a curved center back seam with supplementary neckline darts, while reducing Front Balance length to prevent the front hem from drooping.
- Lumbar Lordosis (Swayback): A deep lower spinal curve requires scooping the back waist seam line downward and taking up vertical length at the center back to eradicate horizontal ripples above the gluteal fold.
- Lateral Pelvic Tilt: One hip elevated higher than the other requires individual skirt or trouser dart manipulation, splitting left and right pattern halves rather than cutting on the fabric fold.
🛠️ Interactive Atelier Tool: Client Measurement Tracker
Skip manual math and cutting guesswork. Use our free interactive tool to instantly calculate your exact measurements, fabric yield, and project specifications:
The Bespoke Wearing Ease Matrix
Pattern drafting begins with anatomical measurements, but wearable garments require calibrated ease. Wearing ease provides mechanical allowance for thoracic expansion, articular movement, and digestion, whereas design ease creates silhouette volume. Do not confuse the two.
- Skin-Tight Foundation / Corsetry: Negative 2 cm to 0 cm at the waist; 0 cm to +1.5 cm at the bust. Fabric must have structural stability (e.g., silk faille backed with coutil).
- Close-Fitting Bodice / Sheath Dress: +3 cm to +5 cm at the bust; +2.5 cm at the waist; +4 cm to +5 cm at the low hip.
- Tailored Suit Jacket: +8 cm to +12 cm at the chest circumference (allowing for floating hair-canvas chest piece, domette, shoulder pad, and lining); +5 cm to +8 cm at the waist.
- Overcoat / Outerwear: +14 cm to +18 cm at the chest to accommodate intermediate suiting layers and armhole depth movement.
Fabric Behavior and Ease Dynamics
A pattern drafted for a dense English wool tweed behaves radically different from one cut in fluid silk crepe de chine or crisp cotton poplin:
- Warp and Weft Resistance: Stable wool broadcloths and worsteds hold crisp dart shaping with minimal give along the warp (lengthwise grain) but yield slightly across the weft (crosswise grain). When measuring for wool garments, ease must account for the natural take-up of dense interfacings and inner linings.
- Bias Instability: If cutting on the true 45-degree bias, circumference ease naturally relaxes outward while vertical length drops under gravitational tension. You must subtract vertical ease from high-to-low hip measurements and allow the fabric to hang on the dress stand for a minimum of 24 hours before leveling the hem.
From Spec Sheet to the Cutting Table: Workflow Precision
Once you have captured the 20-point protocol and noted spinal deviations, compile your physical spec card before spreading fabric. Align the straight grain parallel to the selvage, verify that all seam allowances match your atelier standards (typically 1.5 cm on structural seams, 2.5 cm on outseams to permit fitting adjustments, and 5 cm on tailored hems), and check balance notches across both sides of the pattern.
For complex couture gowns requiring beadwork, lace appliqué, or crystal layouts, calculate surface coverage requirements using our Embellishment Calculator. Furthermore, when managing multiple custom commissions across different fitting milestones (muslin toile, forward fitting, finish fitting), maintain absolute control over your workshop schedule with our Project Deadline Calculator.
By transforming client measurements from scribbled scrap notes into a disciplined, anatomical diagnostic protocol, your atelier ensures that every cut of the shears delivers balanced, pristine bespoke elegance.
Do you enjoy the content on Agenda Creativa?
Your contributions help me create new articles, share creative ideas, and keep this platform alive! If you like what I do and want to support my work, you can buy us a coffee.
Every cup of coffee means more than just a gesture – it's direct support for my passion to create inspiring and useful content. Thank you for being part of this journey!
☕ Buy me a coffee