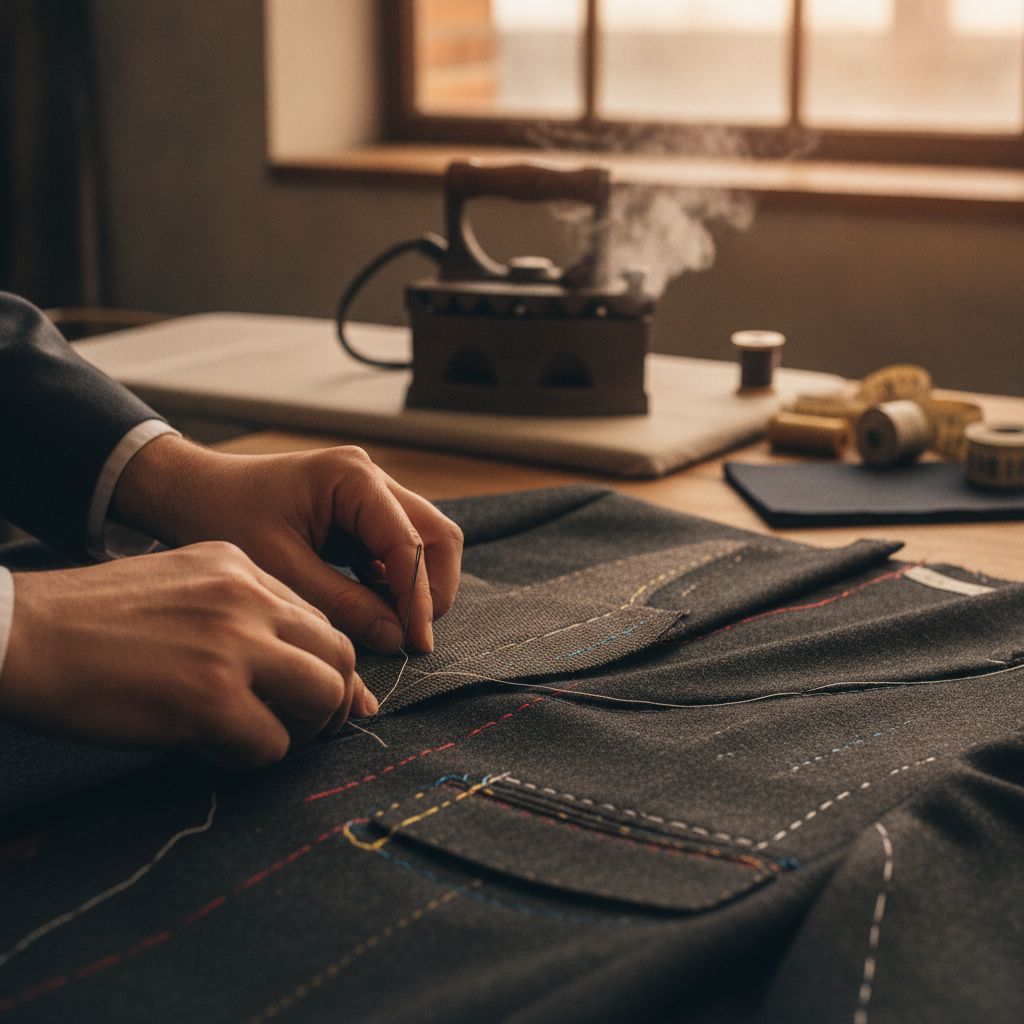
In bespoke tailoring and haute couture, a garment’s structural integrity is rarely compromised by a lack of hand dexterity. Far more often, catastrophic garment failure stems from a breakdown in the order of operations. Garment construction is fundamentally an architectural discipline governed by physics: the tension of the warp and weft, the thermal memory of natural fibers, and the cumulative geometry of layered interlinings. A single misordered step—such as joining side seams before securing a double-welt pocket, or setting a collar before establishing the jacket balance across the shoulder blades—can ruin yards of costly virgin wool or hand-woven silk.
Achieving bench-level consistency requires shifting away from intuitive improvisation toward a deterministic, milestone-driven workflow. Every high-end atelier operates on a strict sequence designed to arrest fabric deformation, safeguard balance lines, and isolate adjustments before seams are permanently closed.
The Mechanics of Assembly Failure: Why Order Dictates Structure
To understand why the construction sequence is non-negotiable, one must observe fabric under tensile stress. When yardage is cut into shaped pattern pieces, the edges invariably run across warp, weft, and true bias. The moment a piece is moved from the cutting table, gravity and handling begin to warp its dimensions:
- Bias Seam Drift: Curved edges like armscyes, necklines, and crotch curves stretch unpredictably. If staystitching is omitted immediately after cutting, the seam line permanently expands by 4% to 8%, destroying the collar fit and sleeve roll.
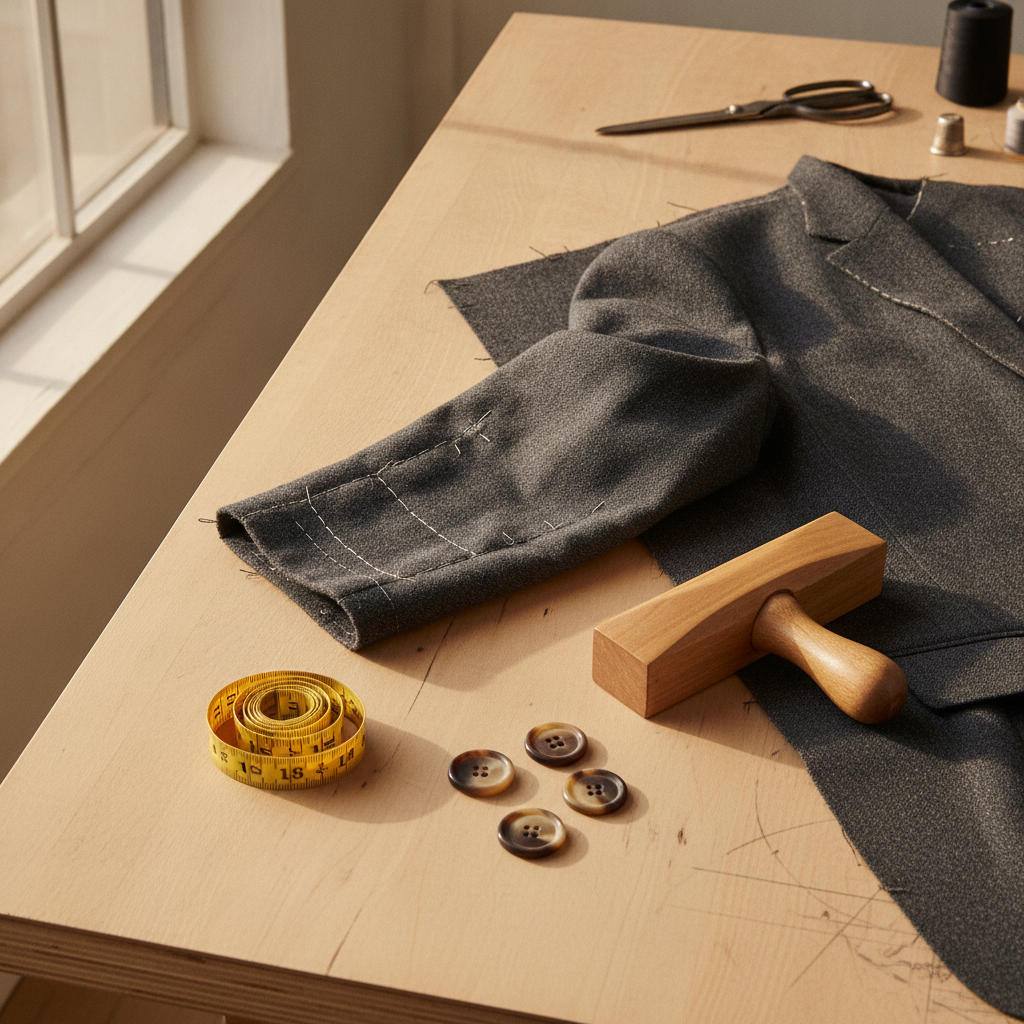
- Thermal Lock Traps: Intermediate pressing with steam and an oak clapper sets the fiber memory. Pressing a seam after an intersecting seam has been stitched traps un-pressed bulk under the cross-seam, creating a permanent, visible ridge on the right side of the fabric.
- Internal Architecture Lockout: Constructing internal supports—such as floating horsehair canvas, chest felts, pocket stays, and shoulder reinforcements—must happen while the garment front lies flat. Attempting to insert internal structure into an already assembled 3D shell distorts the outer drape.
The Rule of Irreversible Milestones
In couture sewing, operations are classified into two categories: reversible steps (basting, thread tracing, fitting balance checks) and irreversible operations (slashing pocket welts, trimming seam allowances, clipping curves, cutting keyhole buttonholes). The foundational law of the atelier dictates that no irreversible operation may take place until all dependent structural milestones and fittings have passed quality inspection.
The Four Critical Phases of Bespoke Garment Assembly
Phase 1: Preparation, Trueing, and Staystitching
Before needle touches cloth for assembly, the fabric must undergo decatizing—preshrinking through rigorous heat and steam exposure. Once pieces are cut with generous atelier inlay allowances (typically 2.5 cm to 4 cm along side and hem seams for future alteration), thread tracing marks the true sewing lines, balance notches, and grainline indicators.
Immediately after cutting, staystitching must be applied 1.5 mm inside the seam line on all curved or bias-cut edges using a short stitch length (1.5–2.0 mm). This anchors the grainline before the fabric shifts during handling.
Phase 2: Sub-Assembly and Flat-Bed Construction
A cardinal error of intermediate makers is closing main body seams too early. The front panels must remain isolated until all surface work and internal support structures are completed. This milestone includes:
- Darts and Shaping: Sewing, slashing, and pressing fish-eye and contour darts over a tailor’s ham to shape flat wool into convex chest and hip contours.
- Pocket Construction: Slicing welts, positioning flap pockets, and anchoring pocket bags to front canvases. A welt slashed after side seam closure forces awkward maneuvering on the sewing machine arm, risking uneven welt lips.
- Chest Canvas Pad-Stitching: Hand-pad stitching the horsehair canvas to the body canvas, tensioning the bridle tape along the roll line to build permanent roll and hollow chest shape into the lapels.
🛠️ Interactive Atelier Tool: Project Checklist Manager
Skip manual math and cutting guesswork. Use our free interactive tool to instantly calculate your exact measurements, fabric yield, and project specifications:
Phase 3: The Fitting Gates (Toile to Basted Fitting)
Professional tailoring separates fitting into distinct quality gates to isolate variables:
- The Muslin/Toile Fitting: Identifies macro proportions, length balance, posture lean, and shoulder slope without risking costly cloth.
- The Basted Canvas Fitting (First Fitting): Performed with the primary cloth loosely basted to the floating canvas, without collar, facings, or sleeves attached. Here, the tailor checks the horizontal balance line across the chest and shoulder blades. Asymmetries in shoulder drop are corrected at the shoulder inlays.
- The Advanced Fitting (Forward Fitting): Sleeves are basted in place to verify the pitch. The pitch line—the forward tilt of the sleeve relative to the wearer’s natural arm drop—must hang cleanly without diagonal breaks radiating from the sleeve head.
Phase 4: Closure, Setting, and Edge Treatments
Only after the fitting gates are cleared does the garment transition to permanent closure. Shoulder seams and side seams are permanently stitched, stepped, and pressed open with edge-binding or hand-overcasting. The undercollar is shaped with curved pad-stitching, pressed over a tailor’s iron stand, and felled to the neckline. Finally, the sleeves are permanently set, inserting a bias-cut waddled sleeve roll to support the sleeve crown ease (typically 3.5 to 5 cm of ease distributed over the top half of the armscye without visible puckering).
The Atelier Quality Assurance Matrix
Standardizing quality requires checking each milestone against objective criteria before advancing to the next. The following bench matrix outlines critical inspection points:
- Grainline Integrity: Center fronts and center backs must hang precisely perpendicular to the floor plane. Any spiral torque in trouser legs or coat quarters indicates grainline misalignment during cutting.
- Underpressing Quality: Every structural seam must be pressed flat to set the stitch, pressed open over an edge board, and hammered with a hardwood clapper before crossing seams are sewn. Relying on final “top pressing” to hide poor internal pressing yields a flat, deadened garment surface.
- Thread Balance and Pitch: Basting threads must be distinct in color and weight (glazed cotton basting thread) to avoid scoring fine wools during fitting removal. Undercollar points must roll inward 1 mm past the lapel edge to hide the seam entirely from the exterior.
Transitioning from Chaos to Production Control
When tailoring complex garments—whether a hand-canvassed suit jacket, structured trousers, or layered historical attire—mental tracking invariably breaks down under workshop distractions. Missing a single step like pocket stay stabilization or ease gathering on a sleeve head creates a cascade of teardowns that degrade fabric fibers.
Systematizing your workflow with printable work orders and structured checklists anchors each stage of cutting, assembly, and fitting. You can accurately manage client dimensions from first consultation through final fitting with our Client Measurement Tracker, ensuring balance points match the wearer’s exact anatomy. Furthermore, when commercial commissions require granular cost accounting across every step of assembly, our Alteration Price Estimator provides the necessary pricing structure based on realistic labor milestones.
True tailoring mastery is not about working faster; it is about building a sequence where every stitch, cut, and press locks into place with architectural precision.
Do you enjoy the content on Agenda Creativa?
Your contributions help me create new articles, share creative ideas, and keep this platform alive! If you like what I do and want to support my work, you can buy us a coffee.
Every cup of coffee means more than just a gesture – it's direct support for my passion to create inspiring and useful content. Thank you for being part of this journey!
☕ Buy me a coffee