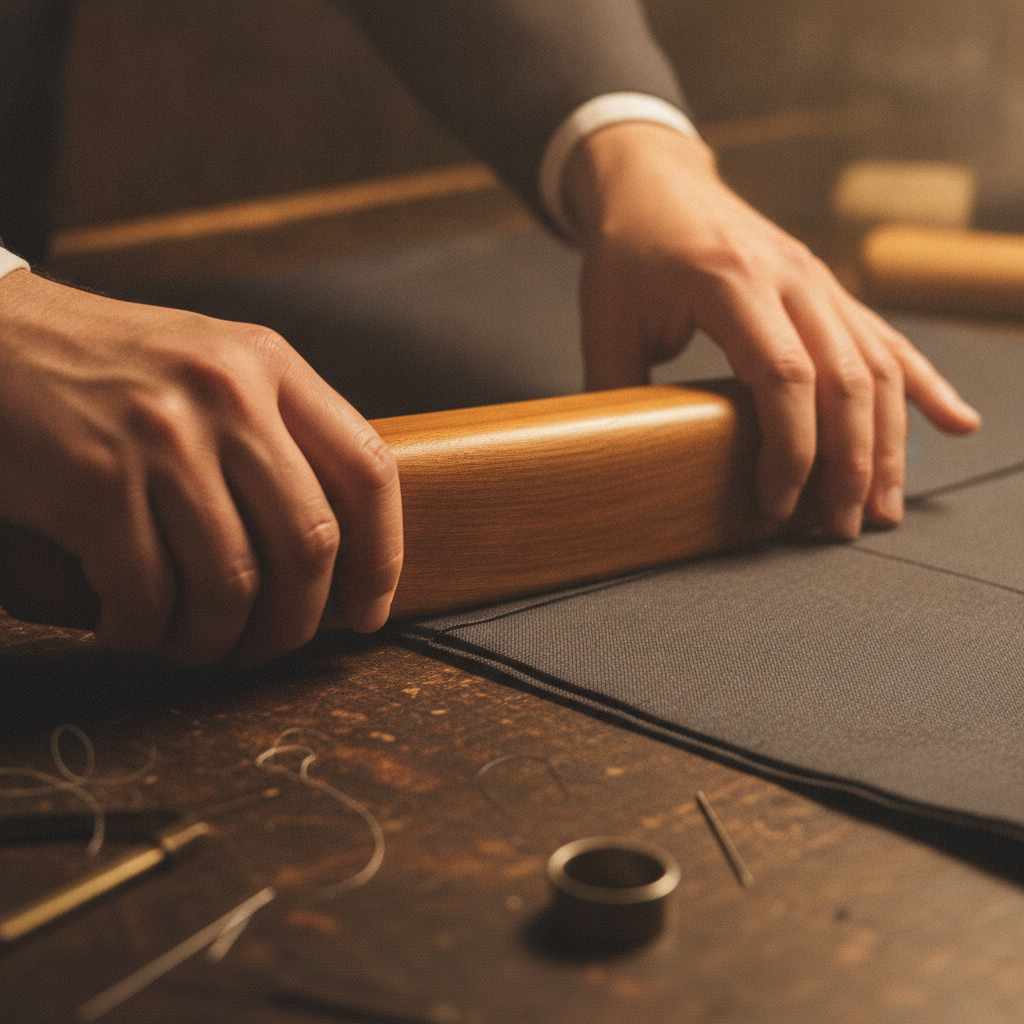
In standard pattern drafting manuals, seam allowances are frequently relegated to a trivial footnote—an arbitrary 1.5 cm (5/8") perimeter tacked onto the draft before cutting. In a master atelier, however, the seam allowance is treated as an active structural component of the garment’s internal architecture. It dictates how tensile stress distributes along the warp and weft, governs whether a curve rolls fluidly or kinks, and determines whether an iron press yields a razor-sharp edge or a bruised, shiny welt across your cloth.
1. The Structural Mechanics of Seam Allowances
Every woven or knitted textile possesses a finite tolerance for mechanical tension, bulk accumulation, and fiber displacement. When an allowance is incorrectly specified, the garment fails in predictable ways:
- Ridge Imprinting and Bulk Accumulation: On heavyweight textiles such as double-faced melton wool, cavalry twill, or raw denim, a standard wide seam allowance folded flat creates a dense multi-layer step. When pressed, the pressure of the iron imprints an indelible ridge through to the right side of the fabric, permanently marring the face of the cloth with a glazed pressure mark.
- Seam Slippage and Tensile Rupture: Conversely, drafting an undersized allowance—such as a 6 mm (1/4") seam on a loosely woven silk dupioni, open linen gauze, or metallic brocade—invites catastrophic seam slippage. Under standard bodily movement, the crosswise yarns simply slide off the stitch line, causing frayed fibers to escape the structural seam entirely.
- The Tailor’s Inlay: Bespoke tailoring traditions demand structural margins known as “inlays.” Side seams, center-back seams, and trouser outseams traditionally receive 2.5 cm to 3.5 cm (1" to 1 3/8") allowances. This internal reservoir allows future artisans to release seams for anatomical adjustments without altering pattern balance or cutting fresh yardage.
2. Fabric Weight and Fiber Mechanics: Calibrating Allowances
A pattern maker must calculate allowances relative to textile density, yarn twist, and raw edge stability before the shears touch the cloth.
Sheer and Lightweight Silks (Chiffon, Georgette, Organza)
Lightweight textiles require enclosed construction to prevent fraying and maintain visual translucency. Enclosed finishes like the French seam demand exact mathematical allocation. For a finished 4 mm (3/16") French seam, the pattern drafter must allocate precisely 1 cm (3/8") total allowance: 5 mm for the initial wrong-side-to-wrong-side pass, followed by trimming to 2 mm, pressing, and an exact 5 mm enclosure stitch.
Medium-Weight Wovens (Suiting Wool, Poplin, Tailoring Linens)
Medium-weight fabrics are the workhorses of bespoke tailoring. Straight seams (such as side seams and sleeve outseams) perform best with a standard 1.5 cm (5/8") allowance, permitting open pressing (pressed open flat with an edge-finishing overlock, bound Hong Kong seam, or pinked edge). However, enclosed seams—collars, lapel edges, and cuffs—should be drafted at 1 cm (3/8") or graded manually down to 6 mm and 3 mm post-stitching to ensure the outer roll edge sits flat without inner distortion.
Heavy Coatings, Double Cloth, and Denim
Heavy textiles demand wide external structural seams (1.5 cm to 2 cm) to stabilize the seam line, but require progressive grading during assembly. For pocket flaps, lapels, and facing attachments, internal allowances must be sheared in staggered tiers: the facing allowance trimmed to 3 mm, the structural allowance to 6 mm, and the interlining trimmed flush to the stitch line. This terraced cross-section prevents sudden gauge changes from telegraphing through to the exterior cloth.
🛠️ Interactive Atelier Tool: Seam & Hem Adviser
Skip manual math and cutting guesswork. Use our free interactive tool to instantly calculate your exact measurements, fabric yield, and project specifications:
3. The Geometry of Hemlines: Straight Falls vs. Radial Curves
Hem construction is governed strictly by differential radial geometry. Understanding the relationship between the cut edge circumference and the fold line circumference is essential for selecting the correct hem allowance depth.
The Radial Disparity Problem
Consider a full circle skirt. The hem edge sits at an outer radius ($R_2$) while the fold line sits at an inner radius ($R_1$). Because circumference equals $2pi R$, the raw cut edge contains significantly more fabric than the garment line onto which it must be turned up. Attempting to press a 4 cm (1 5/8") hem on a full circle skirt forces substantial excess fabric into a smaller space, producing unsightly pleats, waves, and rippling along the hemline.
To draft a clean curved hem, adhere to the inverse depth rule: the sharper the curve, the narrower the hem allowance must be.
- Full Circle and Flared Skirts: Allocate a maximum hem depth of 6 mm to 1 cm (1/4" to 3/8"). Finish with a hand-rolled hem, a couture baby hem, or a narrow double-fold pass on an edge-stitch foot. Alternatively, cut a true-bias facing strip (3 cm wide) to bridge the radial difference without puckering.
- A-Line and Flared Trousers: Allocate 2.5 cm to 3.5 cm (1" to 1 3/8"). Ease-stitch the raw upper edge with a light gathering pass, shrinking out the excess fullness with a damp press cloth and iron before securing the edge with a catch-stitch (cross-stitch).
- Straight Columns, Pencil Skirts, and Classic Trousers: Because the cut edge matches the garment width perfectly, deep hems are desirable. Allocate 4 cm to 5 cm (1 5/8" to 2"). The added weight stabilizes the hemline, enhances vertical drape, and prevents flyaway motion during stride.
4. Masterclass Execution: Precision Marking and Pressing Protocol
Accurate pattern drafting is meaningless without precise physical translation onto cloth. Follow this standard atelier procedure when establishing and assembling your seams:
Step 1: Chalking and Grain Alignment
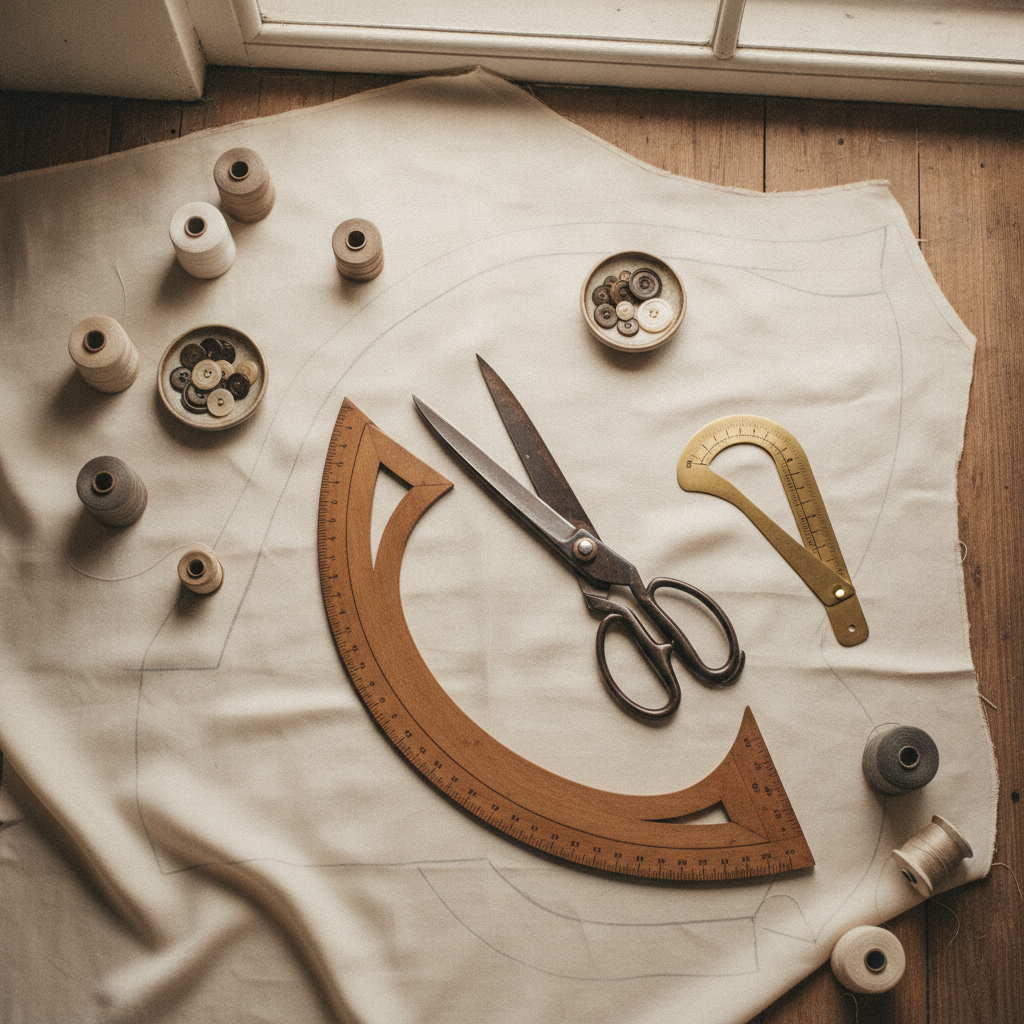
Never rely solely on visual alignment to the cut edge of the cloth. Use an acrylic ruler or seam gauge to mark seam lines with tailor’s chalk or disappearing silver pens on the wrong side of the fabric. Ensure pattern grainlines align exactly with the warp yarns; misaligned grain lines will cause seam allowances to twist spiral-fashion after the first washing or dry cleaning cycle.
Step 2: Differential Pinning and Basting
Pin perpendicular to the cut edge, placing pins precisely along the marked sewing line. For challenging fabric pairings (such as sewing a concave curve to a convex curve, or joining velvet to silk satin), hand-baste using glazed cotton thread. Glazed thread slides cleanly out of fibers without catching delicate weave structures.
Step 3: The Directional Stitch
Stitch along the grainline flow. On shaped skirts and trouser legs, sew from the widest perimeter toward the narrowest point (e.g., from hem to hip, or from neck to shoulder point) to prevent diagonal grain stretching. Maintain consistent thread tension calibrated to the textile’s weight: lighter fabrics demand finer needles (60/8 or 70/10 Microtex) and shorter stitch lengths (1.5 mm to 2.0 mm) to prevent structural puckering.
Step 4: The Atelier Pressing Sequence
Never cross an unpressed seam with another line of stitching. Treat pressing as a sculpting process:
- Press the stitch line flat: Apply steam directly over the closed seam line to sink the stitches into the textile fibers.
- Break the seam: Use a wooden tailor’s clapper and tailor’s ham to press the allowances open cleanly over curved body contours. The wood absorbs heat and residual steam instantly, locking the seam flat without shining the surface.
- Understitch Enclosed Edges: For facings, collar stands, and waistbands, press both allowances toward the facing and execute an understitch 1.5 mm from the seam line to force the main fabric to roll crisply inward.
5. Professional Atelier Workflow Integration
Engineering appropriate seam allowances and calculating exact hem allocations eliminates tedious garment revisions and fabric waste. To ensure your bespoke workshop operates with commercial rigor alongside technical mastery, pair your allowance drafting with our operational tools. Calibrate your production time and studio margins using our Profit Planner, and accurately budget your yardage, notions, and labor commitments ahead of cutting with the Project Price Estimator.
Do you enjoy the content on Agenda Creativa?
Your contributions help me create new articles, share creative ideas, and keep this platform alive! If you like what I do and want to support my work, you can buy us a coffee.
Every cup of coffee means more than just a gesture – it's direct support for my passion to create inspiring and useful content. Thank you for being part of this journey!
☕ Buy me a coffee