The High-Stakes Discipline of Patterned Textile Tailoring
In the bespoke atelier, nothing separates master tailors from well-meaning hobbyists faster than the execution of patterned textiles. A tailored glen plaid suit with staggered horizontal bands across the center front, a striped silk blouse with mismatched sleeve cap balance points, or an evening coat where a damask floral motif sits severed awkwardly across the waist seam destroys the garment’s architectural integrity. When handling patterned goods, fabric is no longer an isotropic, homogeneous sheet—it is an active geometric grid where every single pattern piece is mathematically bound to every other.
Amateur cutting layouts rely on contiguous, nose-to-tail packing designed for solid weaves. When applied to plaids, checks, and vertical motifs, this method creates immediate disaster: severe yardage shortfalls, interrupted motif paths, and warped grainlines. Achieving museum-grade matching requires an uncompromising understanding of vertical and horizontal repeats, weave balance, and yield engineering formulas.
Textile Anatomy: Repeat Classifications and Symmetry
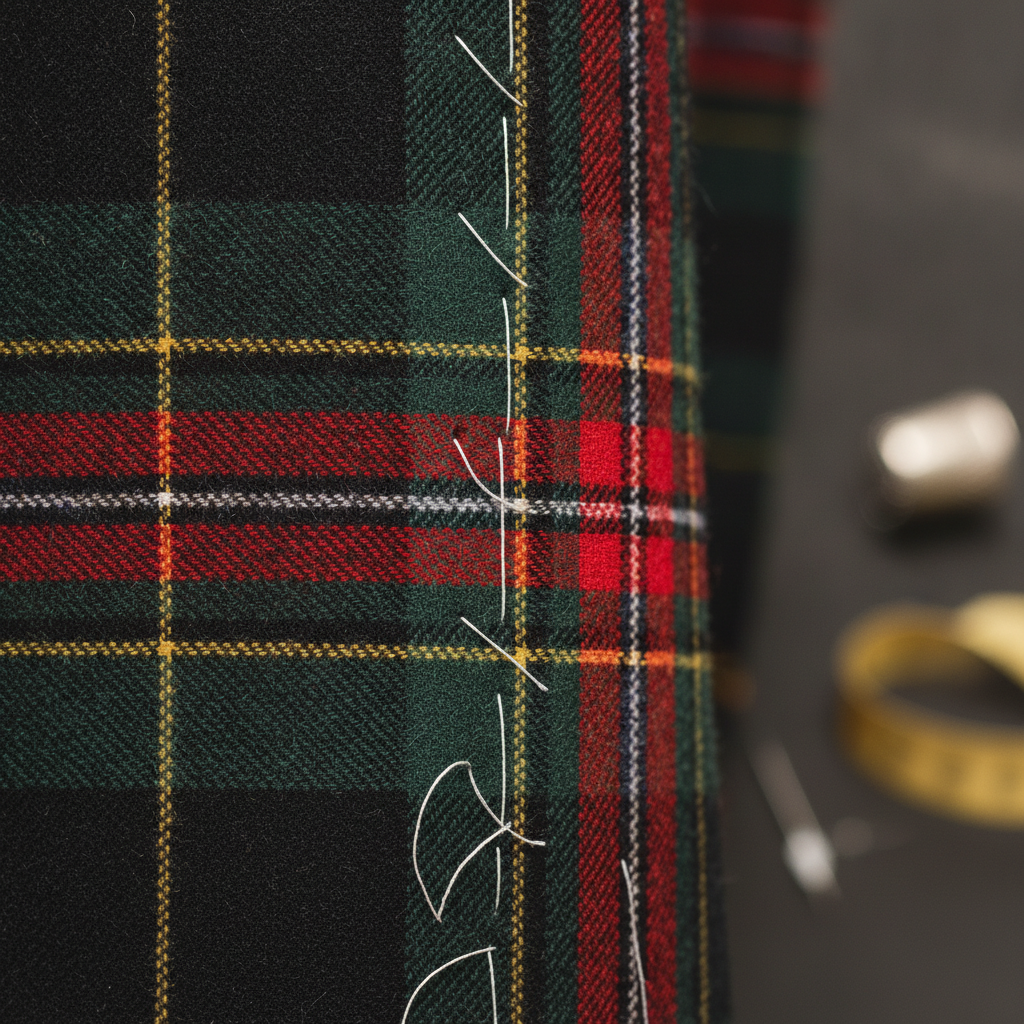
Before cutting shears touch cloth, you must rigorously classify the repeat structure of your fabric across the warp (longitudinal grain) and weft (crosswise grain).
1. Straight Repeat vs. Half-Drop Repeat
A straight repeat occurs when the motif aligns horizontally across the fabric width, repeating on an identical horizontal line from selvage to selvage. In contrast, a half-drop repeat shifts the motif down by exactly half the vertical repeat length in every subsequent column. While common in printed silk jacquards and interior brocades, cutting half-drop textiles requires tracking an alternating offset cycle ($R/2$) across adjacent body panels.
2. Balanced vs. Unbalanced (One-Way) Plaids
- Balanced (Four-Way) Plaid: Displays symmetrical striping both lengthwise and crosswise. When folded over its center, the stripes mirror perfectly in both directions. These fabrics permit two-way cutting layouts unless the textile features a directional nap or surface pile.
- Unbalanced Plaid: Lacks symmetry along the warp, the weft, or both. If the color bars do not mirror when folded horizontally, the fabric has a one-way vertical repeat. If they do not mirror vertically, it has an asymmetrical horizontal pitch. Unbalanced plaids mandate strict “with-nap” cutting protocols: all pattern pieces must point in the exact same direction, significantly inflating fabric consumption.
The Mathematical Physics of Fabric Pattern Repeats
When cutting plain cloth, the required yardage equals the sum of pattern piece lengths packed efficiently across the width. For patterned textiles with a vertical repeat dimension ($R$), every structural garment piece must originate at the identical phase of the repeat cycle. Consequently, each pattern piece consumes fabric not in arbitrary units, but in integer multiples of the repeat dimension.
The mathematical reality of repeat consumption is governed by the ceiling function:
- Repeats Needed Per Component:
N_repeats = ceil( Piece Length / R ) - Fabric Consumed Per Component:
Allocated Length = N_repeats × R - Pattern Matching Waste per Cut:
Waste = (N_repeats × R) - Piece Length
If your tailored jacket front panel measures 78 cm (including hem and shoulder seam allowances) and the plaid’s vertical repeat ($R$) is 18 cm, the mathematical ceiling is ceil(78 / 18) = 5 repeats. That single piece effectively consumes 90 cm of fabric. The remaining 12 cm cannot simply be utilized for the adjacent side panel if the side panel must match the horizontal bar level; that residual length represents pattern-matching fallout.
🛠️ Interactive Atelier Tool: Fabric Pattern Repeat Calculator
Skip manual math and cutting guesswork. Use our free interactive tool to instantly calculate your exact measurements, fabric yield, and project specifications:
Step-by-Step Atelier Cutting Protocols
Step 1: Textile Inspection and Grain Trueing
Industrial textile finishing frequently introduces skew or bow into woven goods. Plaid lines must sit perfectly perpendicular ($90^circ$) to the selvage. Pull a weft thread across the cut end to locate true crossgrain. If the plaid printing or weave deviates from the pulled thread line, steam and block the textile vigorously on the cutting table until the warp and weft form a true rectilinear grid. Never attempt to align a skewed pattern by stretching pieces during sewing; tension imbalances will cause severe seam puckering.
Step 2: Designating Dominant Bands and Master Reference Lines
Examine the fabric to locate the dominant stripe or motif bar—the boldest, most visually commanding stripe in the weave. Establish where this dominant bar should land across the human form:
- Center Front (CF): In a tailored jacket or buttoned placket, the dominant vertical stripe should align directly down the CF or sit symmetrically flanking it.
- Hem Level: The dominant horizontal bar should ideally run continuously across the hem of the jacket body and both sleeves without interruption.
- Chest / Lapel Break Point: Avoid placing dark, high-contrast horizontal bars directly across the apex of the bust or mid-lapel break, as this disrupts the vertical silhouette.
Step 3: Transferring Alignment Bars to Paper Blocks
Never cut patterned fabric using opaque, unmarked paper patterns. On your master slopers, draw horizontal registration lines that connect directly across intersecting seams: from front balance point through the underarm to the side seam, continuing into the back panel and the sleeve pitch marks. Mark the exact stitching line (seamline), not the cutting line; motifs match at the seam line, never the outer edge of the seam allowance.
Step 4: The Single-Ply Cutting Mandate
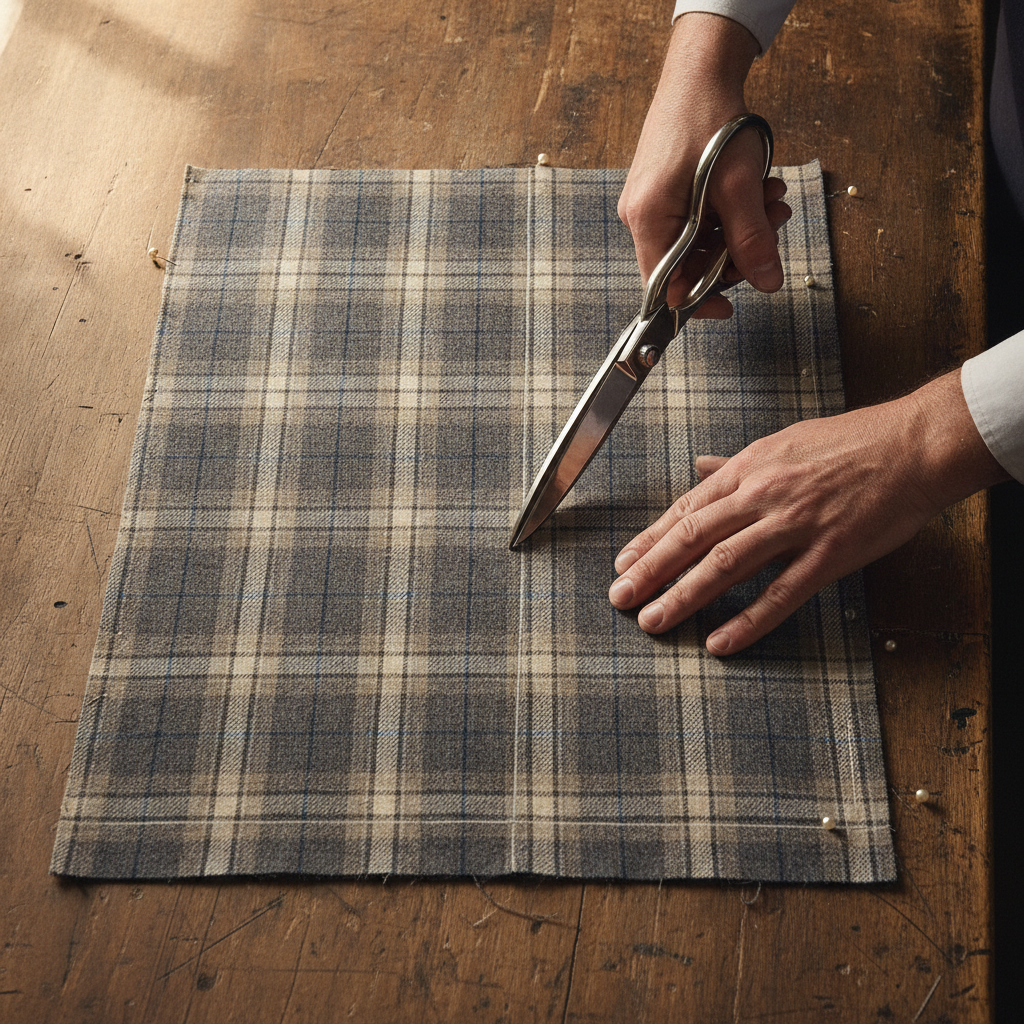
Folding fabric lengthwise to cut mirrored pairs “on the fold” is acceptable for plain cottons, but unacceptable for bespoke pattern matching. Even when selvages are pinned cleanly, internal fabric slippage causes the under ply to drift by 5 to 15 millimeters. For perfect plaid matching, cut single-ply only:
- Cut the first side of the garment (e.g., Left Front) face-up, precisely positioning the pattern block over the motif.
- Remove the paper pattern and place the cut textile piece face-to-face directly onto the remaining fabric layout.
- Manually pin through every prominent stripe intersection, verifying that the needle enters and exits the identical stripe intersection on both plies.
- Cut the mirror piece (Right Front) using the cut textile as your physical cutting guide.
Mastering Seams, Pockets, and Compound Contours
Matching Curved Seams and Darts
Because side seams, princess lines, and armscyes taper at angles across the straight grain, horizontal stripes can only match perfectly at one specific height across a dart or seamline. Position your primary match notch at the most visible horizon—typically the waistline or the bust apex. Above and below this notch, chevron effects will naturally form. Ensure the angle of the chevron mirrors identically on the left and right sides of the body.
Engineered Welt and Patch Pockets
Patch pockets must either integrate invisibly into the background pattern or be cut deliberately on the true $45^circ$ bias to create intentional geometric contrast. For invisible matching:
- Place the pocket paper pattern on the garment body at its finished location.
- Trace the exact textile bars passing behind the pocket onto the paper pattern.
- Shift the pocket pattern to an uncut portion of the textile, align the traced lines identically with the fabric weave, add seam allowances, and cut.
Integrated Atelier Planning
Precision pattern drafting requires comprehensive visualization long before shears pierce luxury woolens. Before laying out high-value cloth, sketch your planned stripe positions and grain orientation using the Fashion Sketchpad to evaluate scale and seam interruptions across your garment silhouette. Furthermore, if you plan to encase seams or finish curved hemlines on matching plaids, calculate your true-bias yardage consumption accurately using our Bias Binding Calculator.
By transforming pattern repeat mathematics from a source of anxiety into an exact drafting discipline, you ensure that every suit, overcoat, and tailored gown leaves your atelier with the seamless structural harmony characteristic of true haute couture.
Do you enjoy the content on Agenda Creativa?
Your contributions help me create new articles, share creative ideas, and keep this platform alive! If you like what I do and want to support my work, you can buy us a coffee.
Every cup of coffee means more than just a gesture – it's direct support for my passion to create inspiring and useful content. Thank you for being part of this journey!
☕ Buy me a coffee