Few experiences in bespoke tailoring and couture dressmaking are as devastating as investing thirty hours into cutting, interlining, pad-stitching, and hand-finishing a garment, only to watch its proportions collapse after a single laundering or steam-finishing cycle. A jacket sleeve crawls up the wrist; a trouser outseam develops an irrepressible corkscrew twist; an immaculate waistline cinches beyond wearable ease. In professional ateliers, dimensional instability is not treated as bad luck—it is recognized as an inevitable thermodynamic and mechanical reaction governed by polymer chemistry, yarn spinning, and weaving tension.
To cut with absolute confidence, an artisan must anticipate exactly how a textile will contract along both its longitudinal and transverse axes. Precision cutting begins not with the shears, but with the science of fabric shrinkage and rigorous swatch diagnostics.
The Physics of Textile Contraction: The Four Shrinkage Mechanisms
When a bolt of cloth arrives in the cutting room, it exists in a state of artificial dimensional stasis. Industrial milling exerts continuous mechanical stress on fibers. Understanding why and how those fibers rebound requires analyzing the four primary mechanisms of shrinkage:
1. Relaxation Shrinkage
During commercial spinning, sizing, and high-speed weaving or knitting, yarns endure massive tensile stress. Warp yarns (the lengthwise threads parallel to the selvage) are held taut on the loom under hundreds of pounds of tension. When the textile is submerged in water or permeated by high-pressure steam, the lubricating action of moisture allows the fibers to relax, releasing their latent mechanical strain. The yarns recoil to their unstressed equilibrium length. Relaxation shrinkage accounts for the lion’s share of dimensional loss in natural bast fibers and cottons.
2. Swelling Shrinkage
Hydrophilic natural fibers—principally cotton, flax, hemp, and regenerated celluloses like viscose and lyocell—absorb massive volumes of water directly into their amorphous cellular regions. As individual fiber diameters swell significantly, the physical geometry of the yarn changes: it thickens. Because the yarn thickens in cross-section, the woven crimp path (the undulation of threads over and under one another) must travel a significantly steeper, longer curve. To accommodate this steeper wave, the linear boundaries of the fabric pull inward, contracting the whole textile dimensionally.
3. Felting Shrinkage
Unique to animal hair fibers such as sheep’s wool, cashmere, and mohair, felting is an irreversible mechanical phenomenon. Wool fibers are covered in directional micro-scales (cuticles). Under the combined influence of moisture, heat, and mechanical agitation, these scales open up and interlock ratchet-style. Once compressed, the fibers cannot return to their original position, resulting in progressive, irreversible thickening and contraction. In tailored wools, controlled felting is harnessed during collar shaping, but uncontrolled agitation will destroy a tailored silhouette entirely.
4. Thermal / Plastic Shrinkage
Common in synthetic polymers such as polyester, nylon, and elastane blends, thermal shrinkage occurs when thermoplastic fibers encounter temperatures near their glass transition point. Exposure to aggressive iron temperatures or industrial drying releases the molecular orientation set during fiber extrusion, snapping the synthetics back into an unoriented, shorter molecular state.
The Asymmetric Danger: Warp vs. Weft Differential Distortion
Amateurs frequently make the mistake of assuming a fabric contracts uniformly in all directions. In reality, isotropic shrinkage is virtually non-existent in woven goods. Textiles exhibit profound differential shrinkage between the warp (lengthwise grain) and the weft (crosswise grain / pick direction).
- The Warp (Lengthwise Grain): Held under constant mechanical pulling tension on the loom beam, warp yarns almost always exhibit the highest percentage of relaxation shrinkage (routinely 3% to 8% in untreated cottons and up to 12% in raw denim or coarse linen).
- The Weft (Crosswise Grain): Inserted with minimal tension across the width of the loom, the weft typically exhibits lower relaxation shrinkage, but can suffer dramatic swelling shrinkage depending on yarn twist and pick density.
When warp and weft shrink at disparate rates, patterns cut without accounting for this variance will twist off-grain. A balanced trouser leg cut on the straight grain will pull toward the dominant shrinking axis, causing side seams to rotate over the kneecap. On bias-cut garments, asymmetric shrinkage turns a flowing 45-degree drape into an irregular, rippling corkscrew.
The Master Atelier Swatch Testing Protocol
Never rely on bolt labels marked “pre-shrunk” or “Sanforized.” Even certified Sanforized cottons can retain 1% to 3% residual shrinkage—enough to eliminate half an inch of vital ease across an eighty-centimeter tailored waistline. Execute this laboratory-grade swatch protocol before touching your master pattern pieces:
Step 1: Cut a Precision Diagnostic Swatch
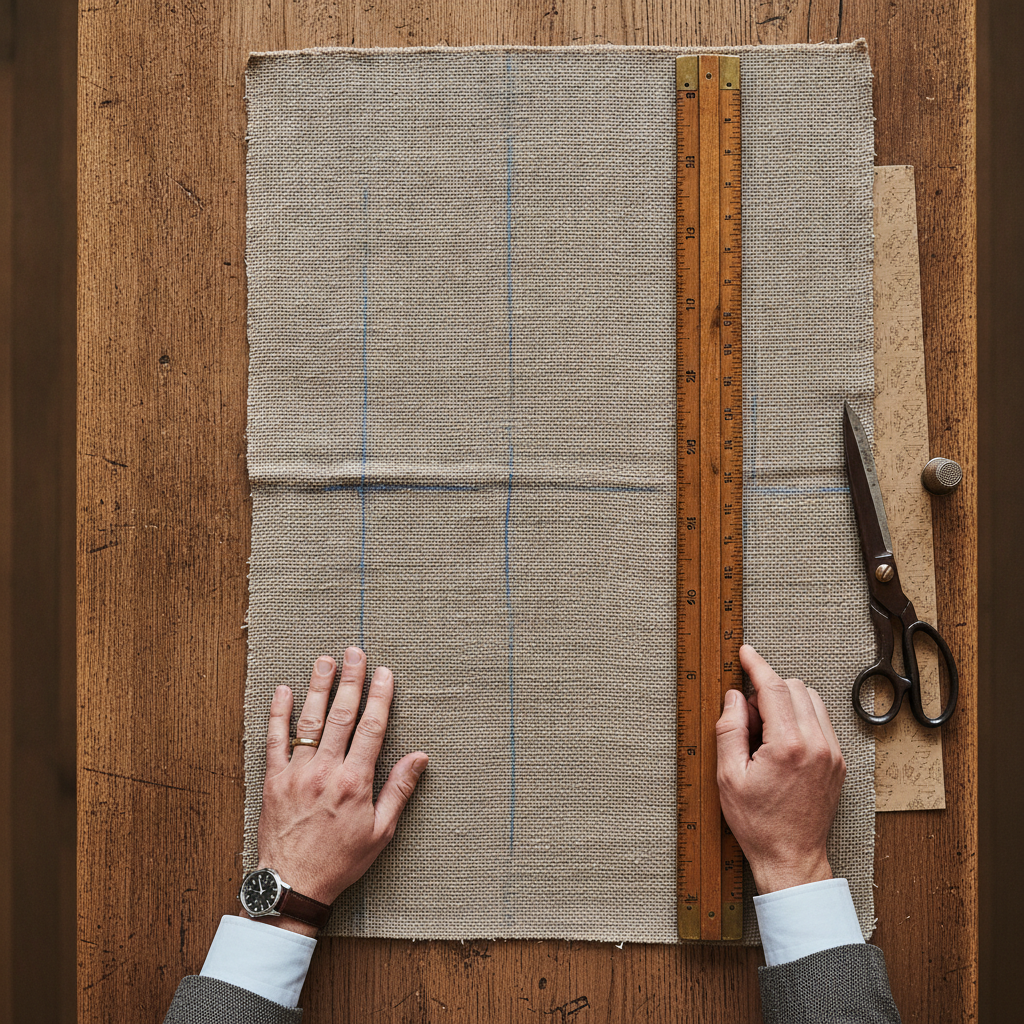
Do not cut a casual scrap. Cut a true, grain-aligned square from the bolt, positioned at least 10 cm away from the selvage to avoid edge tension distortion. A standard 20 × 20 cm or 25 × 25 cm square provides an ideal base for accurate metric conversion. Mark the warp grainline with an arrow using tailor’s chalk or contrasting thread tracing.
Step 2: Establish the Gauge Perimeter
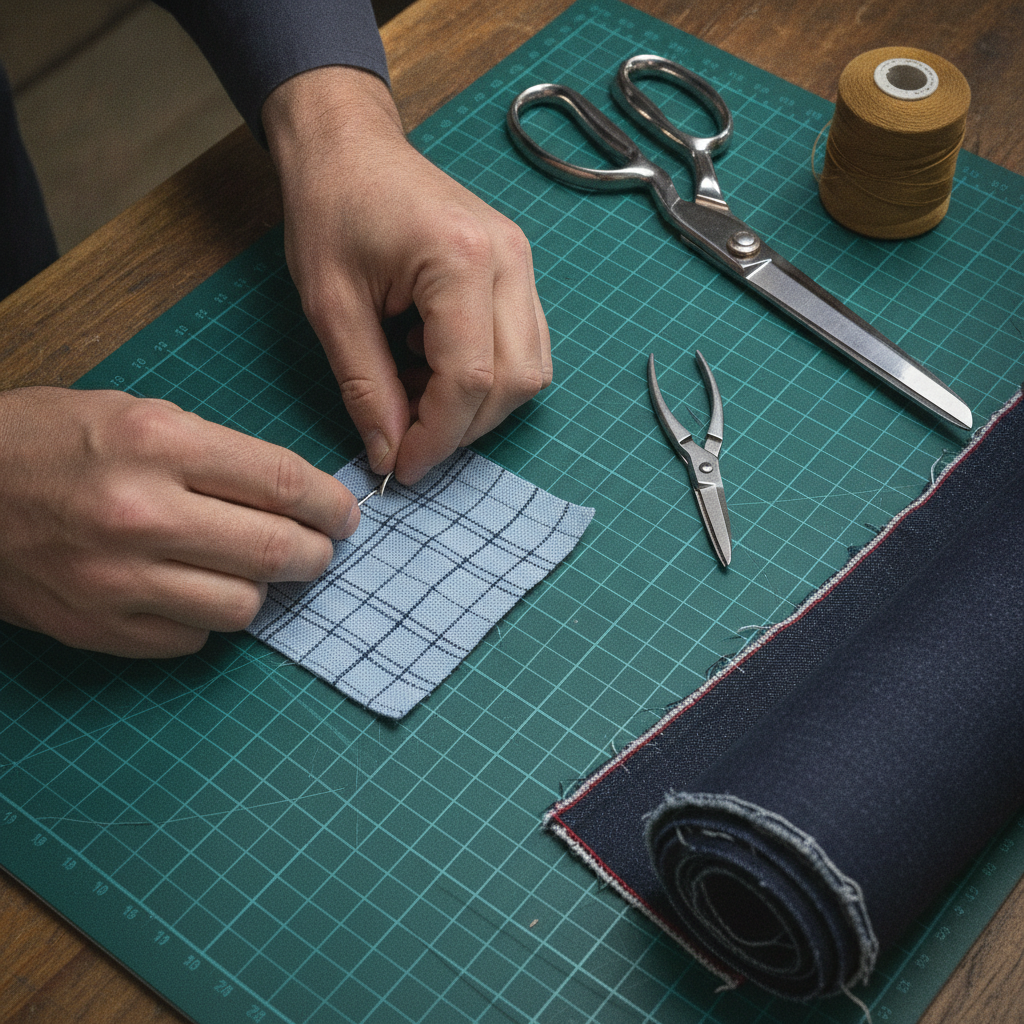
Do not measure to the raw cut edge, which will fray and distort during laundering. Using a ruler and waterproof basting thread or permanent textile ink, mark an internal measurement square precisely 20.0 cm × 20.0 cm (or 10.0″ × 10.0″). Overlock, serge, or pink the raw perimeter edges to prevent structural unweaving during wash agitation.
Step 3: Subject the Swatch to the Intended Laundry Cycle
Launder the swatch using the exact water temperature, detergent chemistry, spin speed, and drying cycle that the finished garment will experience throughout its lifetime. If the garment will be sent exclusively to dry cleaning, take the swatch to your dry cleaner. If it will be washed in warm water and line-dried, replicate that exact routine.
Step 4: Press and Measure in Free State
Once completely dry, press the swatch using proper atelier iron discipline: apply downward pressure with steam, lift, and reset. Never drag the iron across the grain, as lateral dragging artificially re-stretches wet fibers and invalidates your reading. Let the swatch cool flat for 30 minutes on a marble or wood cutting table to reach ambient moisture equilibrium. Measure the distance between your basted gauge lines across three points along the warp and three points along the weft, recording the averages.
🛠️ Interactive Atelier Tool: Fabric Shrinkage Calculator
Skip manual math and cutting guesswork. Use our free interactive tool to instantly calculate your exact measurements, fabric yield, and project specifications:
The Atelier Mathematics: Formulas for Contraction and Procurement
Once you have measured your relaxed swatch, apply the fundamental mathematical formulas to calculate your percentage loss and your gross purchasing requirement.
Calculating Percentage of Shrinkage
Calculate both warp and weft shrinkage independently:
Shrinkage % = [ (Initial Dimension - Post-Wash Dimension) / Initial Dimension ] × 100
Example: If your initial 25.0 cm warp gauge measures 23.5 cm after washing:
[ (25.0 - 23.5) / 25.0 ] × 100 = (1.5 / 25.0) × 100 = 6.0% Warp Shrinkage
If the weft gauge shrinks from 25.0 cm to 24.5 cm:
[ (25.0 - 24.5) / 25.0 ] × 100 = (0.5 / 25.0) × 100 = 2.0% Weft Shrinkage
Calculating Extra Yardage to Purchase
Amateurs frequently make an algebraic error when purchasing yardage: if a pattern calls for 3.0 meters and the fabric shrinks by 10%, they add 10% to the initial 3.0 meters (buying 3.3 meters). But 3.3 meters washed with a 10% loss yields only 2.97 meters—leaving them short!
The mathematically sound formula to establish the gross unwashed yardage is:
Required Gross Yardage = Net Pattern Layout Length / [ 1 - (Warp Shrinkage % / 100) ]
Applying this formula for a net pattern layout of 3.0 meters at 10% warp shrinkage:
3.0 / (1 - 0.10) = 3.0 / 0.90 = 3.333 meters
Add your standard 5% to 10% buffer for pattern grain squaring, pattern matching, and cut loss, yielding a safe order of 3.5 to 3.6 meters.
Pre-Shrinking Yardage vs. Pattern Grading: When to Use Which
In standard dressmaking, the gold standard is pre-shrinking the yardage. Submerge the full length of cloth in lukewarm water, dry it naturally, and press it completely true before chalking your pattern. However, in industrial garment manufacturing and raw bespoke tailoring (e.g., bespoke five-pocket selvedge denim or bespoke shirtmaking where crisp mill-finishes must be preserved), pre-washing the uncut bolt is often impractical or detrimental to the crisp hand required for precision hand-sewing.
When working with “shrink-to-fit” garments, the pattern drafter must grade the pattern upward using an expansion factor:
- Warp Expansion Factor:
1 / [ 1 - (Warp Shrinkage % / 100) ] - Weft Expansion Factor:
1 / [ 1 - (Weft Shrinkage % / 100) ]
The pattern pieces are then expanded along their respective vertical and horizontal axes by these precise multipliers. When the garment is assembled and soaked, it contracts down into the client’s bespoke proportions.
Atelier Workflow Integration
Mastering textile physics protects your creative investment from erratic fit issues. As your bespoke projects grow in complexity, integrate shrinkage calculations into your initial estimating workflow. When pricing custom commissions where extensive fabric preparation or post-fit alterations are factored in, calibrate your studio rates with our Alteration Price Estimator. Similarly, if your project incorporates volumetric gathered panels or tiered couture flounces where crosswise shrinkage alters fullness, plan your precise cut ratios using the Gathering Calculator.
Treat every roll of fabric as a living, dynamic medium. By establishing exact diagnostic benchmarks through swatch testing, you eliminate risk and ensure every finished piece retains its intended ease, line, and drape for decades to come.
Do you enjoy the content on Agenda Creativa?
Your contributions help me create new articles, share creative ideas, and keep this platform alive! If you like what I do and want to support my work, you can buy us a coffee.
Every cup of coffee means more than just a gesture – it's direct support for my passion to create inspiring and useful content. Thank you for being part of this journey!
☕ Buy me a coffee