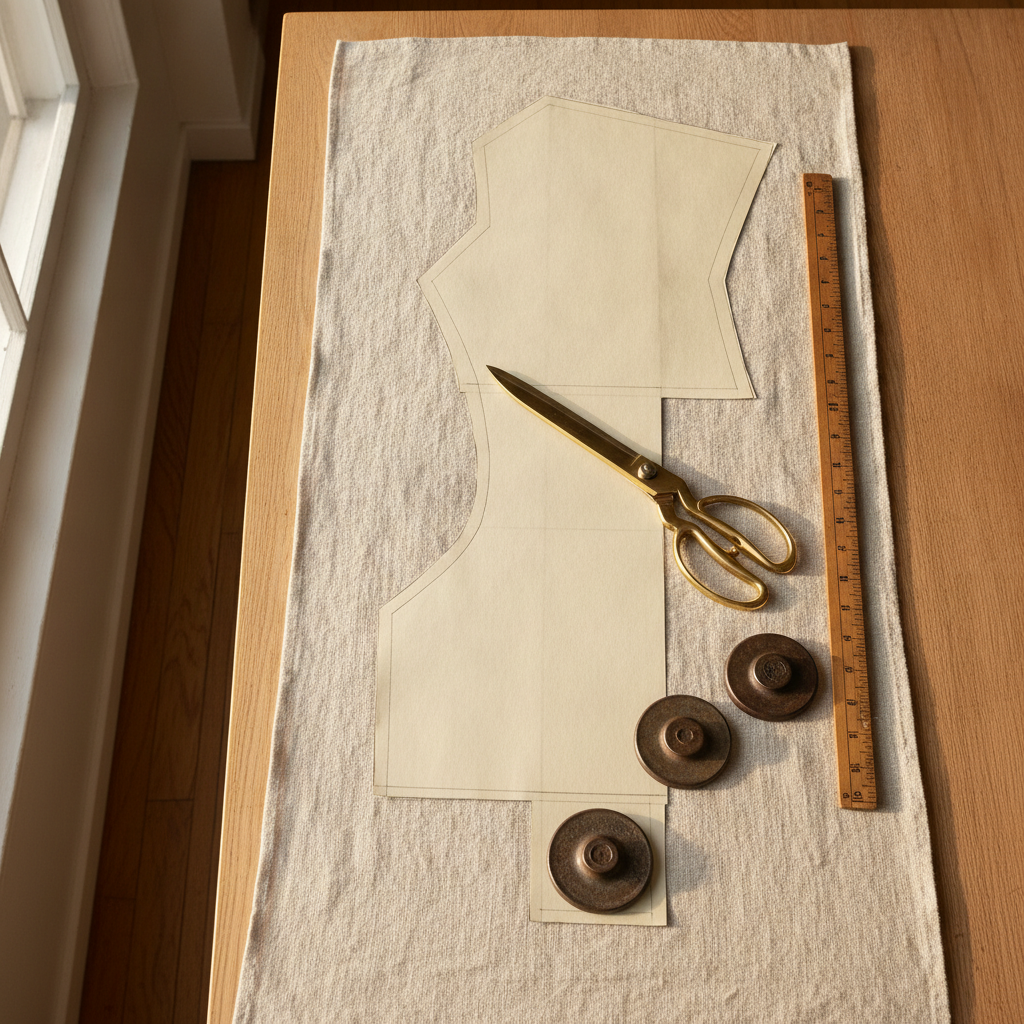
In the bespoke tailoring workroom and haute couture atelier, cutting into raw textile is a point of irreversible commitment. Whether working with quadruple-ply silk crepe at two hundred dollars a meter, hand-woven Scottish tweed, or crisp Irish linen, fabric typically accounts for the single largest material cost of any garment. Yet, independent dressmakers, custom clothiers, and home sewists frequently fall into one of two costly traps: relying on the bloated estimates printed on commercial pattern envelopes—which routinely build in a 30% to 40% margin to safeguard novices—or underbuying out of optimism, only to find that an asymmetrical sleeve or wide hem sweep leaves their layout several critical inches short.
Industrial garment manufacturing solved this dilemma through marker making: the rigorous art and computational science of interlocking irregular, curved two-dimensional pattern pieces across a fixed rectangular plane of cloth. By understanding the geometric principles behind marker efficiency, true usable bolt width, and grainline physics, you can approach the cutting table with mathematical certainty, dramatically reduce textile waste, and slash your material investments without ever sacrificing garment drape.
The Geometry of Cloth: Bolt Anatomy and Usable Width
Before placing a single acrylic ruler or paper piece on the cutting surface, an atelier cutter must evaluate the cloth not as an abstract measurement, but as an engineered woven grid. Textiles emerge from industrial looms with specific mechanical constraints that directly dictate how patterns may be placed.
Raw Width versus Usable Width
A bolt sold as 150 cm (60 inches) wide is rarely 150 cm of usable textile. The extreme edges of the fabric feature the selvage (or selvedge)—the tightly woven longitudinal border designed to prevent fraying during high-tension loom shuttling or air-jet insertion. Selvages frequently feature:
- Tenter pinholes: Perforations created by the tenter frame drying and finishing machinery, which distort the weave.
- Differential tension: Denser warp packing that does not drape or shrink at the same rate as the textile body, causing puckered seams if incorporated into a garment.
- Manufacturer ink stamps: Branding, color-code dots, or fiber identification printing.
In standard atelier practice, you must deduct between 2.5 cm to 5 cm (1 to 2 inches) across the total cross-grain to establish your true usable width. A nominal 112 cm (44/45″) shirting or quilting cotton yields roughly 107 cm (42″) of workable surface; a nominal 150 cm (58/60″) suiting yields roughly 145 cm (57″). Calculating yardage against nominal width rather than usable width is the primary cause of pieces hanging precariously off the edge of the grain.
Standard Loom Width Classifications
Fabrics typically arrive in three distinct width categories, determined by the loom reed:
- Narrow (90 cm to 115 cm / 35″ to 45″): Common in traditional cotton shirtings, Indian handwoven silks, Liberty lawns, Japanese raw selvedge denims, and African wax prints. Patterns with large single-cut sweeps (such as circle skirts, dolman trench coats, or full-length evening cloaks) cannot be cut on narrow widths without introducing artificial structural seams.
- Medium to Wide (135 cm to 145 cm / 53″ to 57″): Traditional European woolens, tailoring tweeds, coat weights, and fine linens. This is the historic benchmark for menswear pattern engineering.
- Full Industrial Width (150 cm to 160 cm / 58″ to 64″): Modern suiting wools, technical synthetics, jersey knits, and activewear fabrics. Offers the highest marker efficiency for multi-piece sets like two-piece tailored suits or coordinated separates.
The Grainline Imperative: Warp, Weft, and Bias Dynamics
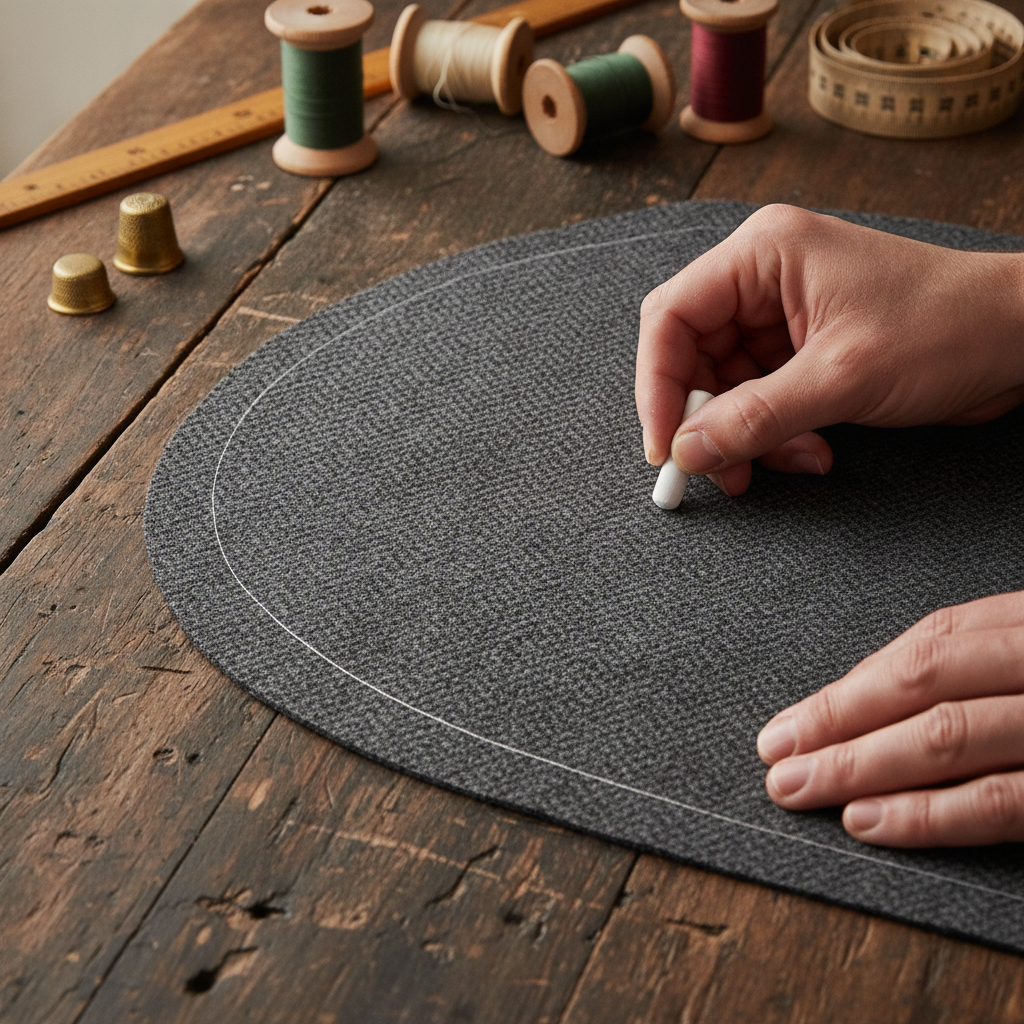
The cardinal rule of the master cutter is that marker efficiency can never supersede grainline integrity. While a computerized packing algorithm might suggest flipping a sleeve crosswise or turning a trouser leg twenty degrees off-grain to fill an empty void, doing so invites structural disaster.
Garment pieces are drafted with vertical arrows indicating their alignment relative to the warp (lengthwise grain). The warp threads run parallel to the selvage and are held under extreme tension on the loom, exhibiting minimal mechanical stretch. Consequently, the warp resists the downward pull of gravity and maintains vertical garment silhouettes. The weft (crosswise grain) carries slightly more mechanical give, allowing comfort across the bust, biceps, and shoulder blades. The true bias, lying at an exact 45-degree angle to warp and weft, possesses fluid, elastic deformation and maximum drape.
Rotating a pattern piece even two degrees off-grain results in torque—trousers whose side seams spiral around the shin, or sleeves that twist around the forearm under movement. Therefore, when interlocking pieces, patterns must only rotate in 180-degree increments along the lengthwise grain, unless you are working with directional textiles.
Directional Lay: The Dictates of Nap and Pile
Certain textiles require a strict “with-nap” marker layout, eliminating the ability to rotate pieces 180 degrees. If a layout requires a one-way directional lay, marker efficiency drops by 10% to 20% on average:
- Napped and Piled Surfaces: Velvets, corduroys, moleskins, and brushed wools (such as cashmere or melton). Running your hand along the cloth reveals a smooth down-stroke and a rough up-stroke. In haute couture velvet, the pile generally faces upward for deeper, richer light absorption; in tailoring, brushed wools typically face downward to shed rain. All pieces must face the identical direction, or adjoining jacket fronts will appear to be entirely different dye lots under room lighting.
- One-Way Directional Prints: Botanical motifs, scenic toile, or asymmetrical geometrics with an unambiguous top and bottom.
- Sateen and Liquid Silk Weaves: Silk charmeuse and sateen reflect light anisotropically. A sleeve cut upside-down relative to the bodice will visibly glisten with a different refractive hue.
Marker Efficiency: The Industrial Yield Formula
In high-fashion manufacturing, every percentage point of wasted cloth represents lost capital. The efficiency of a cutting marker is expressed through a simple mathematical formula:
$$text{Marker Efficiency (%)} = left( frac{text{Total Surface Area of All Pattern Pieces}}{text{Usable Fabric Width} times text{Total Marker Length}} right) times 100$$
In standard atelier production, expected yields vary by garment geometry:
- 82% – 88% Efficiency: Achieved in tightly nested industrial separates (e.g., tailored trousers, structured shirts) with small, modular pieces (collars, cuffs, facings, yokes) that tuck inside large curves.
- 72% – 80% Efficiency: The healthy realistic target for bespoke studio tailoring, where individual custom ease and modest cutting tables prevent hyper-dense nesting.
- 60% – 70% Efficiency: Common in high-volume flare garments, bias-cut evening gowns, or dramatic bell capes where massive convex sweeps leave extensive negative space between cuts.
🛠️ Interactive Atelier Tool: Fabric Layout & Yardage Estimator
Skip manual math and cutting guesswork. Use our free interactive tool to instantly calculate your exact measurements, fabric yield, and project specifications:
The Atelier Marker-Making Protocol: Step-by-Step
To execute an optimized cutting layout manually on the cutting table or digitally prior to fabric acquisition, apply this sequential atelier workflow.
Step 1: Fabric Preparation and Decatizing Allowance
Never purchase or lay out fabric based on unwashed, off-the-bolt dimensions. Natural fibers (wool, silk, linen, cotton) shrink between 3% and 8% when pressed, steamed, or pre-washed. Wool suiting requires decatizing (vigorous steam relaxation under an iron without pressure); linen requires hot-water immersion to preshrink warp and weft fibers. Calculate your required cut yardage, then add a standard 5% atelier cutting buffer to absorb preshrinkage, squaring of uneven bolt cuts, and pattern truing.
Step 2: Establish the Bounding Rectangle
On your cutting table or paper marker roll, draw parallel lines indicating the usable width of the target fabric. If cutting on the fold (common for dressmaking), fold the textile right sides together, aligning the selvages perfectly without wave or torque, and measure the distance from fold to the inner edge of the selvage.
Step 3: Anchor Major Structural Panels First
Begin marker drafting with the largest, least flexible pattern components. For a coat or tailored jacket, this means the Front, Back, and Sleeves; for trousers, the Front and Back Legs. Arrange these foundational pieces strictly parallel to the warp edge:
- Measure with a rigid wooden or metal ruler from the grainline marking on the pattern piece to the selvage edge at two widely separated points (e.g., top and bottom of the line). The distances must match down to the millimeter.
- Leave adequate clearance for cutting shears or rotary blade passes—never overlap pattern lines. Ensure all seam allowances (typically 1.5 cm / 5/8″ for standard construction, or 2.5 cm / 1″ for fitting seams in custom tailoring) are fully factored into each perimeter.
Step 4: Interlock Geometry (The Bin-Packing Method)
Once major panels are locked into alignment, analyze the negative space. Marker making relies on complementary curvature:
- The Armscye-Crotch Interlock: The hollow under an armscye or side waist curve provides an ideal nest for small pattern pieces such as under-collars, pocket flaps, sleeve plackets, or waistband extensions.
- Opposed Curves: Place the convex outward sweep of a sleeve cap against the concave inward sweep of a princess panel or flared trouser hem.
- Telescoping: Orient tapered pieces (like two-piece sleeves or tailored pant legs) in alternating directions (head-to-toe) if working on non-directional, napless fabric. This equalizes the width distribution across the layout.
Converting Between Fabric Bolt Widths
One of the most persistent hurdles makers encounter is translating pattern instructions written for 115 cm (45″) fabric onto modern 150 cm (60″) yard goods, or vice versa. A simplistic cross-multiplication of surface areas will lead to disastrous shortages because pattern pieces are rigid geometric shapes, not liquid volume that can be poured into a narrower container.
To convert safely, categorize your pattern pieces into unbreakable lengths:
- The Minimum Length Floor: If your pattern includes a floor-length coat panel that is 140 cm tall, your marker length cannot be shorter than 140 cm, regardless of how wide the bolt is. Width only helps if two major panels can sit side-by-side.
- Side-by-Side Threshold: Measure the widest point of the Front and Back pieces combined (including seam allowances). If
Widest Front + Widest Back < Usable Width, the pieces can sit side-by-side, cutting your yardage requirement nearly in half. If the combined width exceeds the bolt width by even 2 cm, they must be stacked end-to-end, instantly doubling the required length.
As a rule of thumb for conversion when pieces can sit side-by-side on wider goods:
- From 115 cm (45″) to 150 cm (60″): Multiply original yardage by 0.75 (a 25% reduction).
- From 150 cm (60″) to 115 cm (45″): Multiply original yardage by 1.35 to 1.40 (a 35-40% increase), provided no individual pattern piece exceeds 107 cm in width.
Mitigating Cutting Room Disasters
Even with meticulous mathematics, errors in the cutting phase are unforgiving. Observe these workroom practices before the blades slice through the weave:
- The Plaid and Stripe Match Offset: If cutting plaids, tartans, or windowpane suitings, add one full pattern repeat (horizontal and vertical repeat interval) for every major seam junction. Pattern pieces must be anchored to match horizontal lines across center front, side seams, and sleeve-to-bodice notches.
- Thread Pulling for Grain Alignment: For linens, silks, and loose wools, snip into the selvage and gently draw a single weft thread across the width of the fabric. Cut along the resulting void line to square your cut end perfectly to the true grain before laying down your pattern pieces.
- Weighting versus Pinning: Avoid lifting fabric off the table surface during layout. Pinning causes micro-distortions in thin silks and knits; utilize smooth, heavy leather pattern weights and surgical-grade shears or an ultra-sharp 45 mm rotary cutter kept flat against the table.
Refining Your Atelier Production System
Marker making is not a tedious administrative task; it is the fundamental bridge between pattern drafting and physical garment construction. By treating marker efficiency as a craft discipline, you ensure that every yard of precious textile you invest in is used to its maximum aesthetic and structural potential.
To build an organized, professional preparation system, integrate marker planning alongside other core atelier tools. Plan intricate surface details and trim yardage using our Embellishment Calculator, and track your fitting alterations, fabric pre-treatments, and cutting phases systematically with our Project Checklist Manager. When mathematical precision governs your cutting room, sewing becomes what it was always meant to be: an effortless expression of artisanal craft.
Do you enjoy the content on Agenda Creativa?
Your contributions help me create new articles, share creative ideas, and keep this platform alive! If you like what I do and want to support my work, you can buy us a coffee.
Every cup of coffee means more than just a gesture – it's direct support for my passion to create inspiring and useful content. Thank you for being part of this journey!
☕ Buy me a coffee