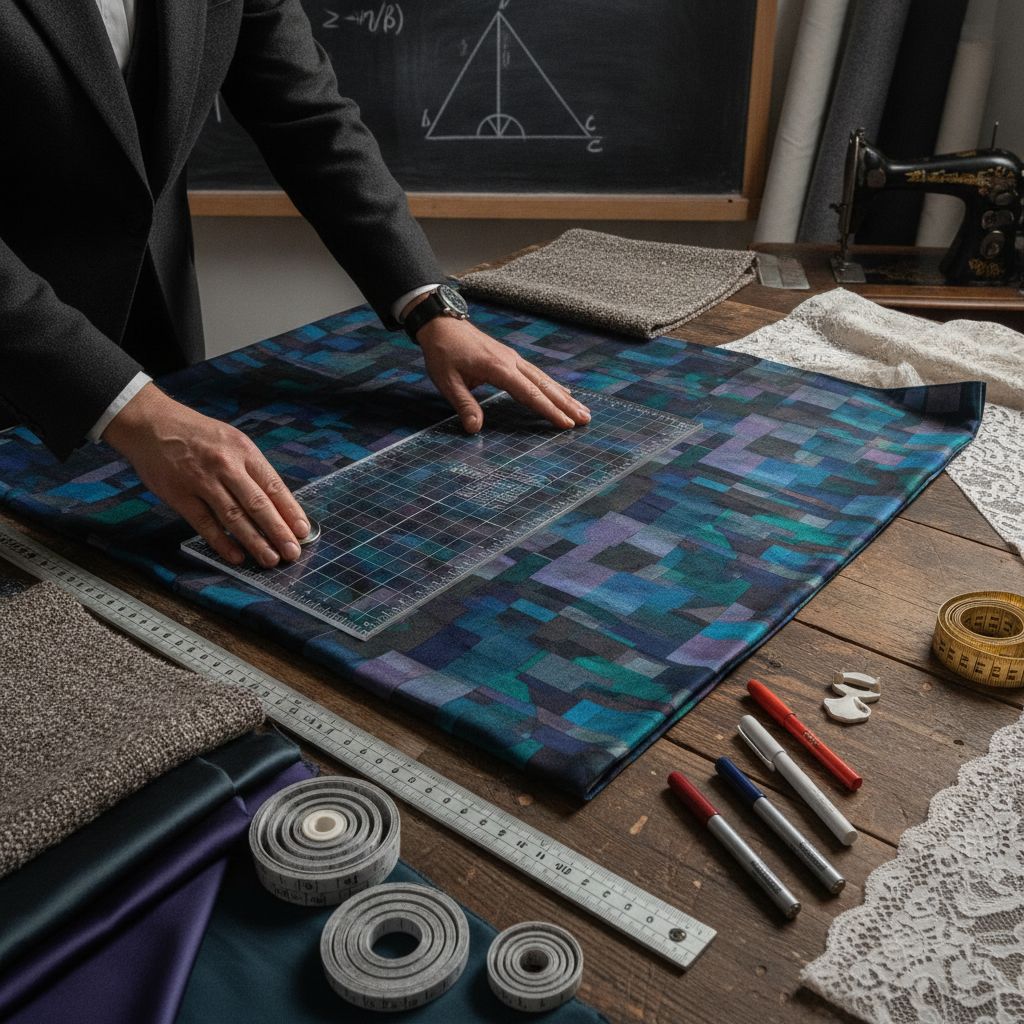
In the quiet precision of the couture atelier, few finishing elements define a garment’s luxury as decisively as hand-turned bias binding. Unlike stiff, commercial polyester tapes that buckle over organic body contours, self-fabric bias binding conforms natively to concavities and convexities—tracing armscyes, cowl necklines, and hem sweeps with fluid tension and zero puckering. However, drafting and cutting bias tape has historically presented tailors with an annoying dilemma: cutting individual 45-degree diagonal strips generates excessive fabric remnants and leaves the maker with dozens of bulky, diagonally pieced seam allowances that interrupt delicate edges.
The Mechanics of True Bias: Warp, Weft, and Mechanical Stretch
Woven textiles possess inherent rigidity along their primary axes: the lengthwise grain (warp) and crosswise grain (weft). The warp threads run parallel to the selvage and bear structural tension, exhibiting virtually no mechanical give. The weft threads run horizontally from selvage to selvage with minimal slack. When you rotate 45 degrees relative to these grainlines, you cut on the true bias.
Along the true bias, the interlaced grid of warp and weft shifts from perpendicular stability into an elastic diamond lattice. Under slight tension, these microscopic diamonds collapse in width and elongate in length. This mechanical phenomenon allows a flat fabric strip to curve dramatically around a three-dimensional edge without gathering or wrinkling. Yet, this same elasticity makes bias vulnerable: pull too tight during application, and your neckline curls inward; leave it too slack, and the edge flares and ripples.
Why Commercial Tapes Fail Haute Couture Edges
- Grainline Distortion: Mass-manufactured bias binding is frequently cut slightly off-grain (at 40 or 50 degrees instead of 45), producing asymmetric torque that forces bound seams to twist after laundering.
- Substrate Disparity: Commercial bindings are predominantly woven from dense polyester blends or treated cotton, preventing you from matching the exact drape, opacity, and shrinkage rate of a silk crepe de chine, wool voile, or linen twill.
- Pieced Seam Bulk: Splicing individual strips together deposits a ridge of seam allowance every few inches, ruining sheer or lightweight fabric edges.
The Continuous Loop Method: Conservation of Surface Area
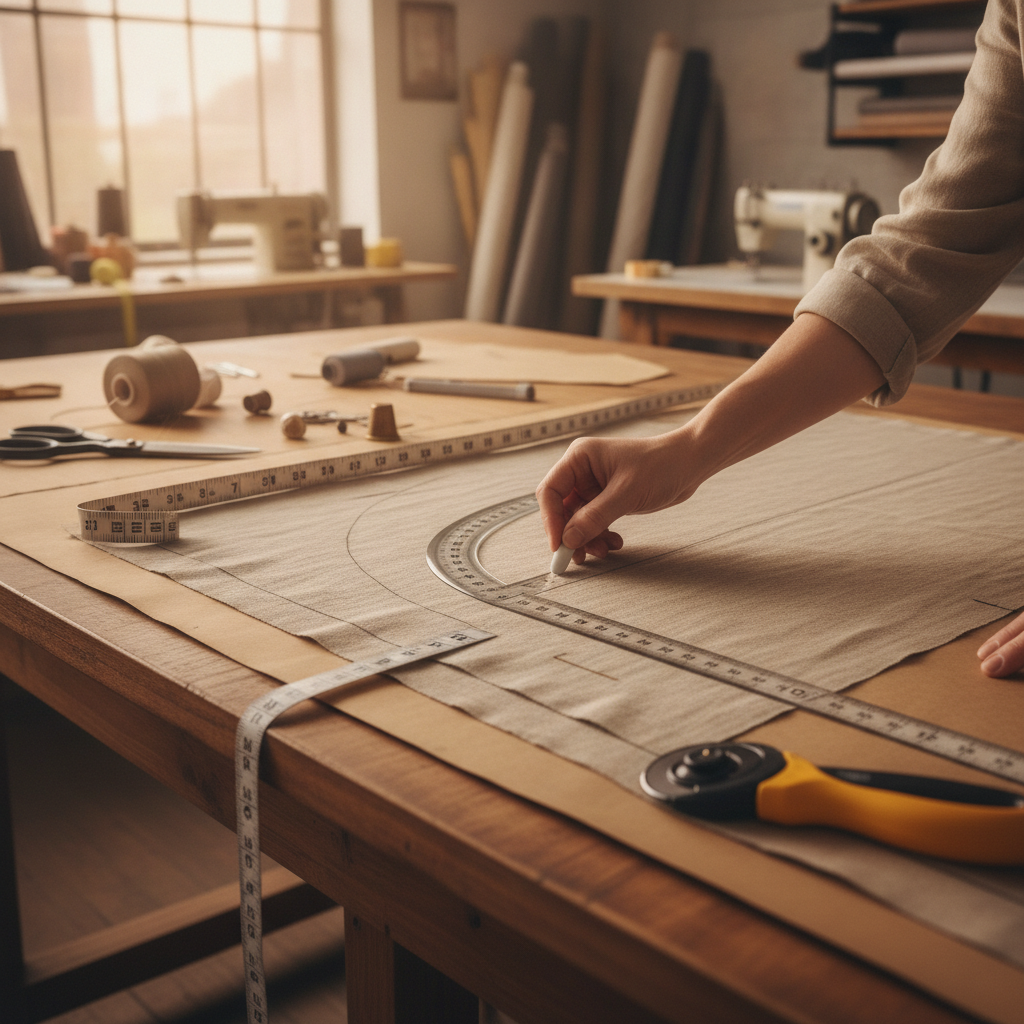
The solution refined by European ateliers is the continuous loop (or spiral tube) cutting method. By transforming a simple square or rectangular piece of cloth into an offset parallelogram, joining its opposing grain edges, and slicing along a continuous spiral, you generate yards of uninterrupted ribbon with only two straight seams.
The underlying principle relies on surface area conservation. The usable surface area of your fabric square (minus diagonal joins and squaring allowances) directly equals the length of the finished strip multiplied by its unfolded cut width. The fundamental atelier formulas are:
- Strip Yield from Available Fabric:
Total Length = [(Fabric Width × Fabric Length) / Unfolded Strip Width] × 0.90 - Minimum Fabric Square Needed:
Minimum Square Side = √[ (Target Finished Length × 1.15) × Unfolded Strip Width ]
A 10% to 15% safety buffer is strictly non-negotiable. Cutting bias introduces corner fall-off, seam allowance consumption along the 1/4-inch diagonal joins, and strip trimming when squaring the raw ends.
🛠️ Interactive Atelier Tool: Bias Binding Calculator
Skip manual math and cutting guesswork. Use our free interactive tool to instantly calculate your exact measurements, fabric yield, and project specifications:
Step-by-Step Construction: The Diagonal Spiral Tube
Executing continuous bias requires absolute discipline during pressing, squaring, and pinning. Follow this precise atelier workflow:
Step 1: Square and True the Textile
Ensure your fabric remnant is cut into an immaculate square on grain. Pull a thread along both the crosswise and lengthwise grainlines to find the true weave before squaring your corners with an acrylic ruler. Any distortion in your starting square will telegraph directly into skewed diagonal cuts.
Step 2: The First Diagonal Slice
Fold your fabric square corner-to-corner along the true 45-degree diagonal. Cut precisely along this crease. You now have two identical right-angled isosceles triangles. The long hypotenuse of each triangle is on the true bias; the short legs represent the stable straight grain (warp and weft).
Step 3: Joining the Straight Grain Edges
Arrange the two triangles right sides together so their straight-grain legs align, shifting them into a parallelogram. Stitch this seam with a 1/4-inch (6 mm) seam allowance using a short stitch length (1.8 mm to 2.0 mm) to lock the threads. Press this seam open flat over a tailor’s ham. The top and bottom edges of your newly formed parallelogram are now true bias cuts, while the side edges represent straight grain.
Step 4: Grid Marking the Parallelogram
Place the parallelogram wrong side up on your cutting mat. Using a chalk wheel or water-soluble tailor’s pencil and an acrylic grid ruler, draw parallel lines from one bias edge to the other. Each line must be spaced exactly to your calculated unfolded strip width (e.g., 2 inches for 1/2-inch double-fold tape).
Step 5: Offsetting the Spiral Cylinder
Bring the two short, straight-grain ends of the parallelogram right sides together to form a tube. Rather than aligning the chalk lines identically, offset the top edge by exactly one strip width. The first drawn strip on one side will protrude past the edge, forming a spiral staircase layout. Pin securely at each intersection, matching the drawn lines precisely at the 1/4-inch seam line (not the raw cut edge). Stitch with a 1/4-inch seam allowance and press open.
Step 6: Continuous Spiral Cutting
Insert your tailor’s shears or position your rotary blade at the offset end of the tube. Cut continuously along the chalk line around the cylinder. The tube will unfurl smoothly into a continuous ribbon of true bias tape.
Width Calculation: Single Fold vs. Double Fold Binding
Selecting an incorrect cut width will leave your binding either too tight to encase seam allowances or too wide to fold crisply without sagging. The formula depends on whether you are executing a single-fold or double-fold finish:
- Single-Fold Bias Tape: Folded inward once on each side toward the center crease. The unfolded cut width equals
Target Finished Width × 2. For a 1/2-inch finished edge, cut your initial bias strips at 1 inch. - Double-Fold Bias Tape: Folded inward once on both raw edges, then folded in half again to sandwich the raw garment edge. The unfolded cut width equals
(Target Finished Width × 4) + 1/8 inch. The extra 1/8-inch allowance compensates for turn-of-cloth roll, ensuring the under-edge extends slightly beyond the upper edge to catch during topstitching or ditch-stitching.
Atelier Pressing and Tension Control
Bias strips are extremely pliable; improper pressing will stretch the ribbon and ruin its elasticity. Never slide your iron back and forth across raw bias. Instead, use an up-and-down pressing motion with steam, setting the fold over a wooden clapper to lock the crisp crease.
When planning comprehensive collections, draft your structural silhouettes precisely using the Fashion Sketchpad to map your neckline finishes, armhole bindings, and decorative bias trims directly onto professional croquis. If you are complementing bias-bound hems with crisp accordion or knife folds, harmonize your dimensional fabric volumes using our precision Pleat Calculator.
By understanding true bias geometry, mastering offset cylinder math, and adhering to strict cutting grainlines, your hand-finished edges will achieve the structural drape and longevity demanded by modern bespoke dressmaking.
Do you enjoy the content on Agenda Creativa?
Your contributions help me create new articles, share creative ideas, and keep this platform alive! If you like what I do and want to support my work, you can buy us a coffee.
Every cup of coffee means more than just a gesture – it's direct support for my passion to create inspiring and useful content. Thank you for being part of this journey!
☕ Buy me a coffee