The Invisible Chassis: Why Interfacing Governs Garment Longevity
In haute couture and bespoke tailoring, an exquisite garment is never defined solely by its exterior textile. The true distinction between bespoke craftsmanship and mass-produced ready-to-wear lies within the internal chassis. Interfacing serves as the structural skeleton of garment construction. Without it, tailored collar stands wilt under gravitational stress, buttonholes distort under tension, jacket lapels collapse against the chest canvas, and waistbands buckle into unsightly horizontal ridges.
Yet interfacing remains one of the most misunderstood disciplines in modern dressmaking. Selecting the wrong stabilizer weight or misjudging resin chemistry creates irreversible catastrophes: delamination (where the adhesive separates, creating unsightly blister pockets), strike-through (where melted resin penetrates the fashion face), or rigid board-like drape that destroys the natural hand of luxury fibers. Achieving museum-grade results requires understanding the structural taxonomy of stabilizers, the thermodynamic laws of thermal bonding, and the surgical rules of seam bulk mitigation.
The Four Structural Taxonomies of Stabilizers
Modern garment engineering relies on four distinct structural classifications of interfacing, each calibrated for specific tensile behaviors and drape kinematics.
1. Woven Interfacings
Constructed on traditional looms with distinct warp and weft yarns, woven interfacings behave identically to woven fashion fabrics. They preserve the natural fluid drape of cotton shirting, fine linens, and worsted wools. Crucially, woven interfacing possesses a true crosswise and lengthwise grain, as well as a 45-degree true bias. It must be cut along the exact grainline orientation of the garment component to maintain structural harmony. Cutting a woven interfacing off-grain causes asymmetric torque, resulting in twisted lapels and puckered button stands.
2. Knit and Weft-Insertion Interfacings
Engineered with interlocking looped yarns, knit interfacings (often tricot) provide crosswise mechanical stretch while maintaining lengthwise stability. Weft-insertion stabilizers integrate crosswise stabilization yarns through knit loops, offering the softest rolling drape achievable in modern tailoring. Knit interfacings are indispensable for stabilizing stretch wovens, jerseys, and wool crepes where a rigid woven backer would cause structural dissonance and seam cracking.
3. Non-Woven Interfacings
Manufactured by thermally or chemically bonding randomized synthetic filaments (polyester and polyamide), non-wovens have no grainline and do not fray. While cost-effective and useful for small accessories, leathercraft, or craft utility, non-wovens generally lack multi-directional drape elasticity. When used across large fashion garment expanses, non-wovens often produce a paper-like, brittle hand that degrades over repeated dry-cleaning cycles.
4. Traditional Sew-In Foundations (Hair Canvas and Silk Organza)
The pinnacle of bespoke tailoring relies on natural, non-adhesive internal foundations. Tailor’s hair canvas (a resilient blend of wool, goat hair, and cotton) provides an elastic spring-back quality that no chemical adhesive can replicate. For delicate eveningwear, semi-sheer silks, and velvet, crisp silk organza serves as an ultra-lightweight sew-in stabilizer that adds crisp body without introducing thermal risk, stiffness, or glue residue.
The Critical Crossroads: Fusible Resins vs. Sew-In Craftsmanship
The decision to fuse or sew-in is governed by both fiber chemistry and design intent. Fusible interfacings utilize thermal resins—typically polyamide or polyethylene—applied to the substrate as microdots or computerized computer-matrix patterns. When heat, moisture, and pressure are applied, these resin dots liquefy, penetrating the microscopic interstitial spaces between the fashion fabric’s yarns before cooling into a mechanical bond.
However, fusibles are not universally applicable. Use this atelier matrix to determine your approach:
- Opt for Fusible When: Working with resilient plant fibers (cotton poplin, twill, linen), stable worsted wools, and tailored components requiring crisp planar stability (shirt cuffs, modern waistbands, welt pocket lips).
- Mandate Sew-In Foundations When: Working with heat-sensitive synthetics, napped textiles (velvets, corduroys, bouclés where iron pressure crushes pile), high-twist silk crepes, metallic lamés, or bespoke chest pieces that require dynamic, three-dimensional shaping via hand pad-stitching.
🛠️ Interactive Atelier Tool: Interfacing Guide & Fabric Stabilizer Adviser
Skip manual math and cutting guesswork. Use our free interactive tool to instantly calculate your exact measurements, fabric yield, and project specifications:
Thermodynamic Protocols: The Science of Dwell Time and Pressure
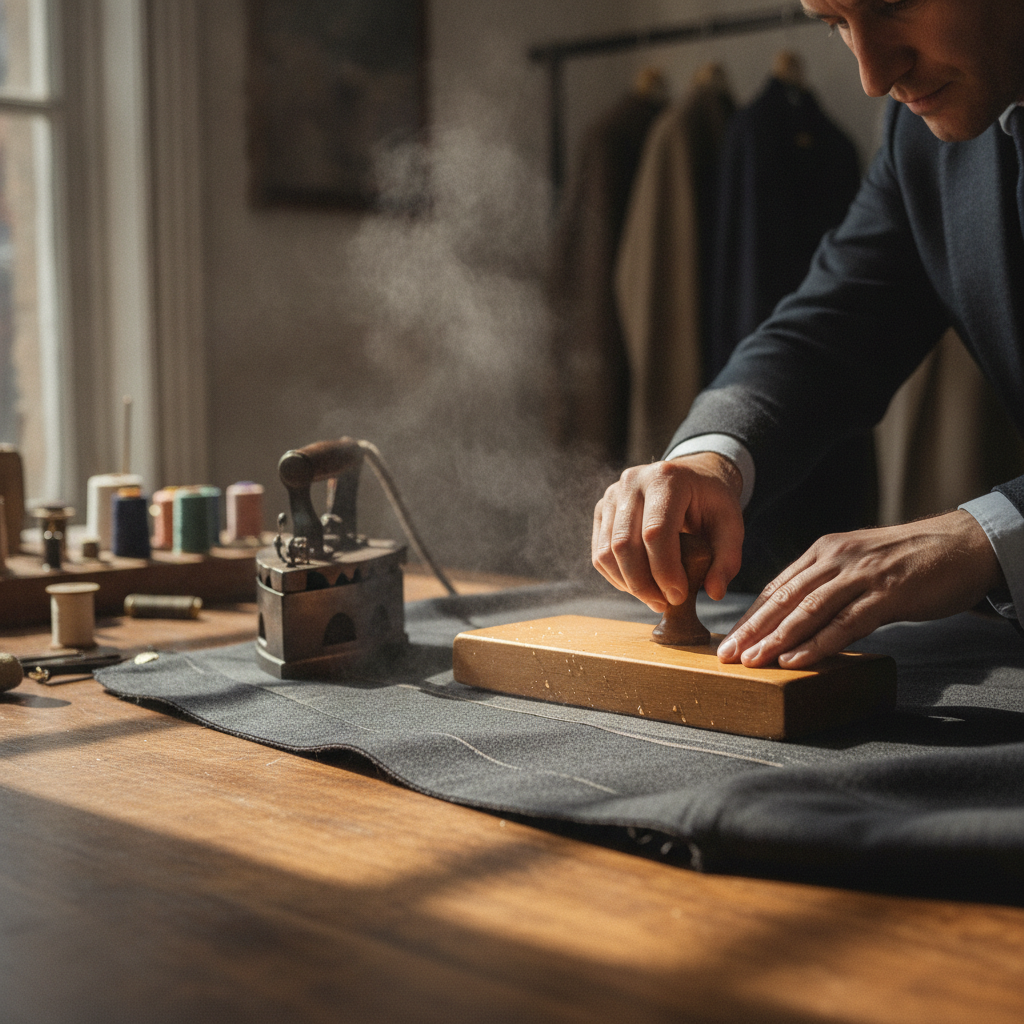
The single greatest cause of puckered facings and bubbling collars is improper fusing protocol. Thermal bonding is not an ironing operation; it is a pressing protocol governed by three strict variables: temperature, pressure, and dwell time.
1. Iron Temperature Calibration
Fusible resins activate within specific thermal windows. Polyamide adhesives generally melt between 120°C and 140°C (wool to low-cotton setting). Insufficient heat creates a weak mechanical bond that delaminates during laundering. Excessive heat vaporizes the adhesive, driving it entirely out of the substrate or scorching the fashion textile.
2. Dwell Time and the Prohibition of Gliding
Never glide the iron across fusible interfacing. Sliding the iron pushes the shifting layers, stretching the heated fashion fabric while displacing molten resin, guaranteeing permanent surface ripples. Instead, apply a static, downward compressive force (approximately 4 to 5 kg of body weight) for a full 10 to 15 seconds per section. Lift the iron completely, overlap the previous zone by 1 cm, and press again.
3. Moisture and Barrier Protection
Always interpose a damp press cloth (muslin or linen sheeting) or professional silicone iron shoe between the iron soleplate and the interfacing backing. The flash of superheated steam conducts thermal energy rapidly through the synthetic backing, liquefying the resin evenly without scorching.
4. The Vitrification Phase (Cool-Down)
The bond does not form while the fabric is hot; it forms as the molten resin cools and re-solidifies around the textile fibers. Once pressed, do not lift, roll, or handle the garment piece. Allow it to rest completely flat on your pressing board for at least 20 to 30 minutes until room temperature is restored. Handling warm pieces disrupts the polymer bond, inducing microscopic delamination that will manifest as bubbling later.
Seam Allowance Engineering and Bulk Mitigation
In couture tailoring, the edge of the interfacing must never create an artificial ridge on the garment’s exterior face. To guarantee sharp points on collar leaves, crisp pocket flaps, and invisible facing transitions, adopt these structural rules:
The Offset Perimeter Trimming Rule
Never fuse interfacing across the entire seam allowance of thick fabrics. For medium-to-heavy textiles, trim the fusible interfacing so that it ends exactly 1 to 2 mm inside the designated stitch line (seam allowance minus 15 mm). When the seam is stitched and turned, the seam allowance itself contains only the fashion fabric, completely eliminating bulky internal ledges.
Stepped Seam Grading
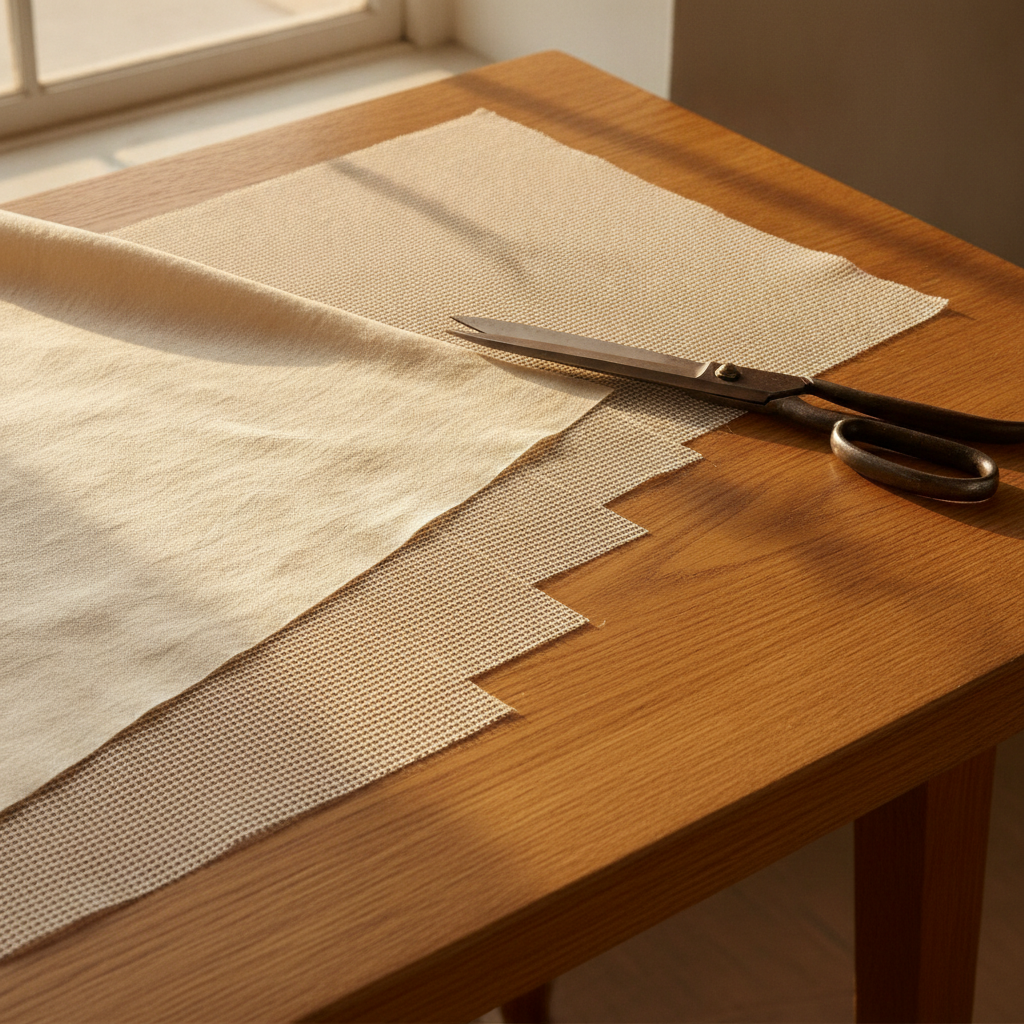
When working with light-to-medium fabrics where the interfacing extends into the seam allowance to stabilize the seam line:
- Trim the facing seam allowance to 6 mm (1/4 inch).
- Trim the interfacing edge to 3 mm (1/8 inch).
- Retain the garment body seam allowance at 10 mm (3/8 inch).
By grading each internal layer to a graduated, staggered width, the transition between stabilized and unstabilized fabric becomes imperceptible from the garment face.
Refining Your Atelier Production Standards
Once you have calibrated your internal stabilization techniques, consistency across all stages of production is key to elevating your finished garments. Ensure your brand presentation reflects the meticulous care invested inside your pieces by establishing unified garment tags with our Label Designer. Furthermore, document your finished silhouettes, structural roll lines, and tailored drape using our specialized Seller Photo Tool to capture gallery-grade imagery that highlights true craftsmanship.
Do you enjoy the content on Agenda Creativa?
Your contributions help me create new articles, share creative ideas, and keep this platform alive! If you like what I do and want to support my work, you can buy us a coffee.
Every cup of coffee means more than just a gesture – it's direct support for my passion to create inspiring and useful content. Thank you for being part of this journey!
☕ Buy me a coffee