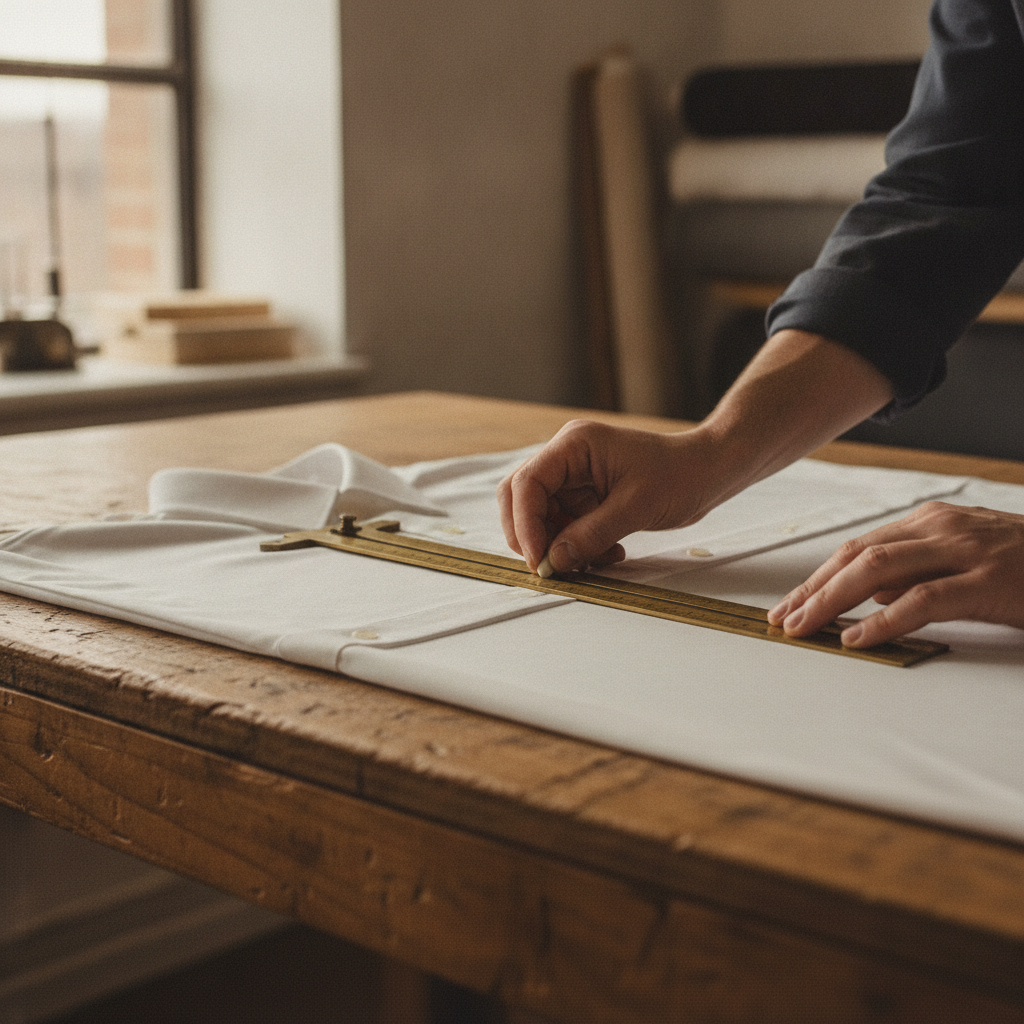
In bespoke tailoring and haute couture, nothing betrays amateur construction faster than an improperly calibrated front placket. You can draft an impeccable armscye, sculpt a razor-sharp shoulder line, and mold an exquisite collar roll, yet if your buttonholes are spaced haphazardly, sit uncomfortably tight against the hemline, or fail to anchor the bust apex, the garment compromises its fit and drape. A miscalculated closure pulls on the warp threads, creates unsightly horizontal tension ripples across the torso, and causes frustrating gaping at the bust.
Achieving runway-grade closures requires more than eyeballing intervals with a ruler. Master shirtmakers and atelier pattern cutters treat plackets as structural stress-distribution planes governed by precise anatomical anchor points, grainline tension, and exact geometric subdivision formulas.
The Primary Anatomical Anchors: Bust Apex and Waist Placement
The most common amateur mistake in placket drafting is calculating uniform button spacing strictly from the top edge to the bottom hem without anchoring the human anatomy first. When a garment buttons across a dimensional body, lateral tensile stress concentrates at specific landmarks—chiefly the prominent bust point (apex) and the natural waistline.
If a button is not positioned directly aligned with, or slightly above, the bust apex line, the natural expansion of the chest pulls the placket open between fasteners. This results in the notorious “placket peekaboo” gap. In bespoke couture shirtmaking, the sequence of button drafting always follows this hierarchy:
- The Collar-Stand Anchor: The collar band button must sit precisely on the horizontal center front overlap, anchoring the neck circumference.
- The Bust Apex Anchor: Pinpoint the client’s horizontal bust line across the center front. Place a key button precisely on this line or within 1.5 cm (5/8″) above it to absorb chest expansion.
- The Natural Waist Anchor: For tailored jackets, fitted blouses, and structured coats, place a button directly at the waist level or at the narrowest silhouette transition to control suppression.
- Secondary Equidistant Distribution: Subdivide the remaining vertical runs above and below these critical anchors into harmonious, mathematically equivalent intervals.
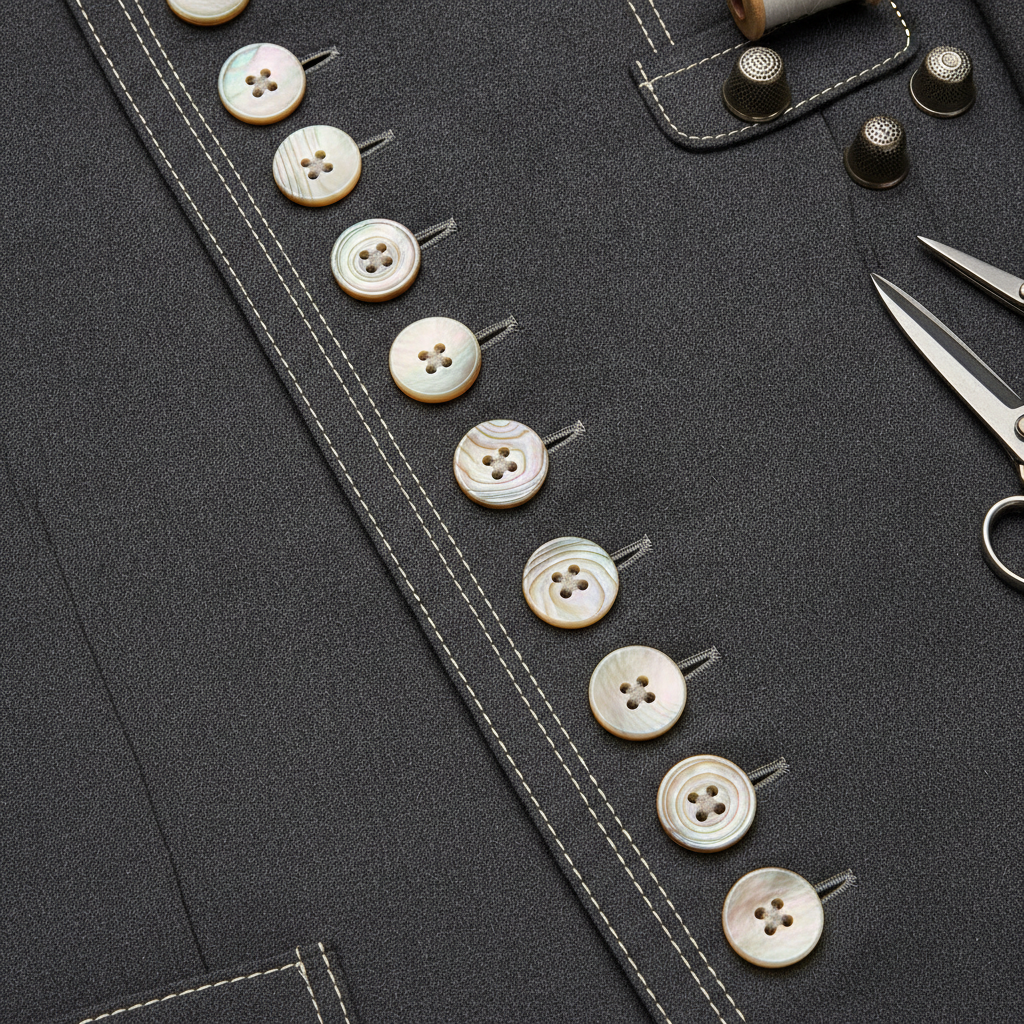
Orientation Mechanics: Horizontal vs. Vertical Buttonholes
The direction of a buttonhole determines how it bears physical tension against the placket. Direction is never an arbitrary aesthetic decision; it is an engineering calculation.
Vertical Buttonholes
Vertical buttonholes are standard on tailored shirt fronts and blouse center plackets. Because shirts are worn tucked into waistbands or styled under jackets, the placket experiences low lateral strain. Vertical orientation allows the button shank to settle vertically along the center front foldline without distorting the crisp straight grain of the placket band.
Horizontal Buttonholes
Horizontal buttonholes are engineered for garments subject to strong cross-body tension. When horizontal stress is applied, the button pulls directly into the curved end (the eyelet or keyhole) of the buttonhole rather than sliding along a vertical slit. You must utilize horizontal buttonholes on:
- The neckband or collar stand of dress shirts.
- Tailored suit jackets, blazers, and sport coats.
- Overcoats, trench coats, and heavy outerwear.
- Waistbands of trousers, skirts, and culottes.
- The very bottom buttonhole of a classic formal shirt (to accommodate the lateral flare of the hips while seated).
🛠️ Interactive Atelier Tool: Buttonhole Spacing Calculator
Skip manual math and cutting guesswork. Use our free interactive tool to instantly calculate your exact measurements, fabric yield, and project specifications:
The Atelier Spacing Mathematics
Once your critical anchors are accounted for, uniform spacing across a classic continuous placket relies on a four-step geometric formula. Never measure space between button perimeters; master cutters always calculate center-to-center (needle drop to needle drop) positions.
Step 1: Calculate the Available Placket Run
Subtract the finished top edge margin and bottom edge margin from your total placket length:
Available Placket Run = Finished Placket Length − (Top Margin + Bottom Margin)
The top margin is measured from the collar-stand seam or neckline facing seam downward to Button #1’s center. The bottom margin provides clearing space above the hemline, ensuring the final button does not pull against the hem stitch or flare out awkwardly.
Step 2: Determine the Center-to-Center Gap
To distribute N buttons along this run, divide the available placket run by (N − 1) intervals:
Center-to-Center Gap = Available Placket Run ÷ (Total Button Count − 1)
For standard men’s and women’s shirting, this gap generally ranges between 7.5 cm and 9 cm (3″ to 3.5″). In haute couture blouses featuring micro-buttons, spacing can decrease to 4.5 cm to 5.5 cm (1.75″ to 2.25″).
Step 3: Establish the Cumulative Cutting-Table Coordinates
Do not step your ruler along the placket measuring from one mark to the next. Incremental stepping introduces tiny human ruler alignment errors that compound over seven or eight buttons, easily throwing off your final placement by 3 to 6 millimeters. Instead, lock your zero mark at the top finished edge and mark using cumulative absolutes:
Distance to Button #n = Top Edge Margin + [ (n − 1) × Center-to-Center Gap ]
Step 4: Buttonhole Slit Length Formula
A buttonhole that is cut too small strains the threads, while an oversized slit allows the button to slip open spontaneously. Measure the button with sliding calipers and apply the master formula:
Slit Cut Length = Outer Button Diameter + Button Thickness + 3 mm (1/8" Movement Ease)
For domed horn buttons or thick shanked buttons, account for vertical bulk by measuring the button’s total perimeter with a thin strip of paper, folding the strip in half, and adding 2 mm of functional ease.
Interfacing, Grainline Stability, and Placket Support
Flawless spacing fails if the placket fabric stretches or distorts under the needle feed. A button placket requires deliberate stabilization engineered relative to the fabric’s warp and weft.
Always align the placket interfacing along the straight grain (parallel to the fabric selvage). In bespoke tailoring, woven fusible interfacing or an ultra-stable cotton lawn sew-in stay is cut the exact width of the finished placket and fused directly to the buttonhole side. This keeps the feed dogs from gathering or puckering the fabric while executing dense satin stitches or keyhole cutouts.
For sheer silks and slippery chiffons, sandwich a removable layer of water-soluble stabilizer or tear-away embroidery tissue underneath the placket. This prevents the fabric from sinking down into the needle plate throat during the initial bar-tack passes.
Comprehensive Apparel Benchmarks
When engineering original garments, reference these time-tested couture tailoring standards:
- Bespoke Dress Shirts: 7 to 8 buttons on the front placket; 16L–18L (10–11 mm) buttons; 7.5–8.5 cm (3″–3.35″) spacing; 1.5–2 cm top margin; vertical orientation.
- Couture Blouses: 6 to 9 buttons; 14L–18L (9–11 mm) buttons; 6.0–7.5 cm (2.35″–3″) spacing; centered apex anchor; vertical orientation.
- Tailored Suit Jackets: 1 to 3 front buttons; 30L–32L (19–20 mm) buttons; 10–12 cm (4″–4.75″) spacing; horizontal orientation with keyhole eyelet.
- Heavy Overcoats: 3 to 5 front buttons; 40L–50L (25–32 mm) buttons; 12–15 cm (4.75″–6″) spacing; horizontal orientation; minimum 5 mm (3/16″) thread shank clearance.
Elevate Your Atelier Workflow
Precision tailoring is an interplay of accurate measurements, geometric drafting, and flawless execution. When constructing complex custom garments, maintain meticulous client records with our Client Measurement Tracker to map bust-to-waist drop lengths and apex positions before cutting fabric. Furthermore, if you are coordinating button-front bodices into dynamic full silhouettes, use our Circle Skirt Calculator to achieve balanced waist allowances and seamless seam alignment across your entire garment collection.
Do you enjoy the content on Agenda Creativa?
Your contributions help me create new articles, share creative ideas, and keep this platform alive! If you like what I do and want to support my work, you can buy us a coffee.
Every cup of coffee means more than just a gesture – it's direct support for my passion to create inspiring and useful content. Thank you for being part of this journey!
☕ Buy me a coffee