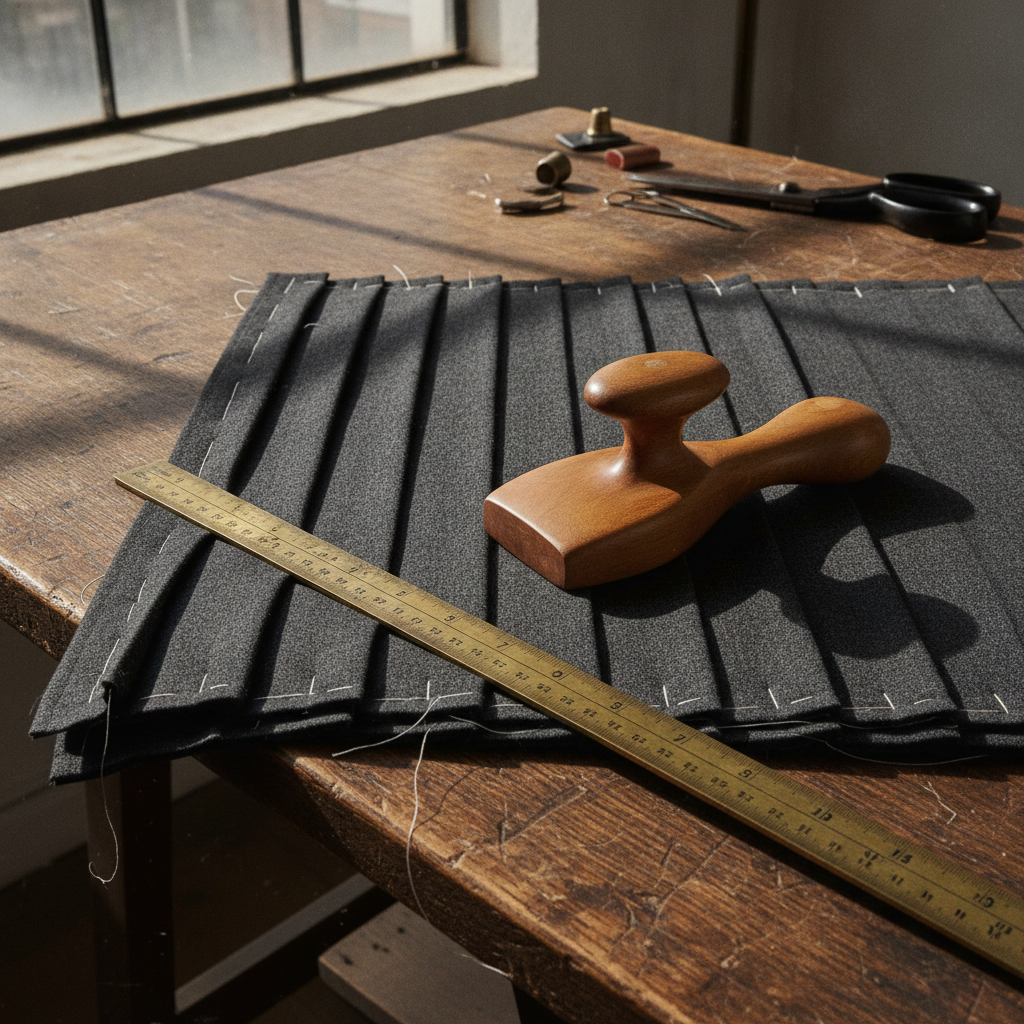
In the bespoke atelier, pleating represents the ultimate marriage of architectural discipline and textile physics. Unlike gathers—which condense fabric through randomized compression—pleats are calculated geometric structural interventions. When drafted with mathematical rigor, pleats control volume across the contours of the body, allowing a flat length of woven cloth to curve smoothly over waistlines and hips while preserving kinetic swing at the hemline.
Yet, pleating remains one of the most common stumbling blocks in pattern drafting and garment construction. An error of merely two millimeters per fold compound across a thirty-pleat skirt translates into a catastrophic six-centimeter discrepancy at the waist. Miscalculated underlays result in gaping folds that reveal the interior of the garment, while ignoring fabric grainline dynamics causes pleats to twist, flare unevenly, or resist sharp pressing. To execute museum-grade pleating, the cutter must look past superficial aesthetics and master the pure geometry of folds.
The Geometry of Fullness: The 3:1 Atelier Rule
Every pleat system is governed by a relationship between the visible exterior surface (the face) and the concealed interior returns (the underlay). In traditional bespoke tailoring and Scottish kiltmaking, the foundational standard is the 3:1 fullness ratio.
To visualize why three times the finished width of cloth is required, trace the cross-section of a single, continuous knife pleat:
- Layer 1: The Pleat Face (1x): The visible exterior pane of cloth presented to the eye. If drafting a 4 cm knife pleat, the face consumes exactly 4 cm of horizontal fabric span.
- Layer 2: The Inward Return (1x): At the crest of the fold, the fabric reverses 180 degrees and dives toward the back of the garment, traveling a depth equal to the pleat face (4 cm).
- Layer 3: The Underlay Base (1x): Reaching the interior valley, the fabric reverses direction once more, running forward along the back of the face to meet the origin of the next pleat (4 cm).
In a continuous pleat system with full underlays, each finished centimeter requires three centimeters of raw yardage. When an amateur cutter attempts to save cloth by skimping on the underlay—providing an underlay depth of only 2 cm behind a 4 cm face (a 2:1 ratio)—the interior fold lacks sufficient leverage. The moment the wearer sits, walks, or fills out the garment’s hip curve, the shallow underlay pops outward, breaking the line of the silhouette and creating the dreaded “pleat gap.”
Knife Pleats vs. Box and Inverted Architecture
While the knife pleat directs visual motion unidirectionally (traditionally swept toward the garment’s left or away from the center front), symmetrical garments frequently utilize box or inverted pleat architecture:
- Box Pleats: Created by placing two knife pleats back-to-back, facing outward in opposite directions. The exterior presents a raised, flat panel with two underlays meeting at a concealed center spine beneath.
- Inverted Box Pleats: The structural inverse of a box pleat. The fold crests face each other on the exterior surface, meeting precisely at a center seam or line, while the fullness expands into an interior box underneath.
Both variations demand the identical 3:1 fabric commitment when drafted with full, edge-to-edge underlays. Understanding this geometry allows you to calculate exact yardages before making the first scissor cut into luxury wool or silk.
Fabric Physics: Grainline, Warp Tension, and Textile Memory
A mathematically sound pattern will still fail if cut without regard for textile physics. Pleating relies entirely on the interplay between the warp (the longitudinal threads held under high tension on the loom) and the weft (the transverse crosswise yarns).
Knife and box pleats must almost always be drafted strictly parallel to the warp grainline. The warp possesses the highest tensile stability and the lowest elasticity. Aligning the vertical crease of your pleat along a single warp thread guarantees that the fold drops plumb to the floor. If a pleat is cut even slightly off-grain or across the true bias, the diagonal shift of the weave will cause the fold to spiral, resulting in “dog-legging” or flare at the hem.
Furthermore, fiber content dictates crease retention:
- High-Twist Worsted Wool: The undisputed gold standard for tailored pleating. Wool keratin proteins contain molecular cross-links that can be permanently reset through moist heat and rapid cooling with a wooden tailor’s clapper.
- Silk Gazar and Silk Taffeta: These crisp, tightly woven filament silks hold sharp, paper-like creases without chemical treatments, making them favorites for haute couture evening architecture.
- Plant Fibers (Linen, Cotton): Lacking natural protein elasticity, cellulose fibers crush readily and struggle to retain sharp pleat edges over extended wear unless reinforced with edge-stitching or specialized fusible stays.
🛠️ Interactive Atelier Tool: Garment Pleat & Yardage Calculator
Skip manual math and cutting guesswork. Use our free interactive tool to instantly calculate your exact measurements, fabric yield, and project specifications:
The Atelier Chalk-Marking System: The A-B-C Repeat
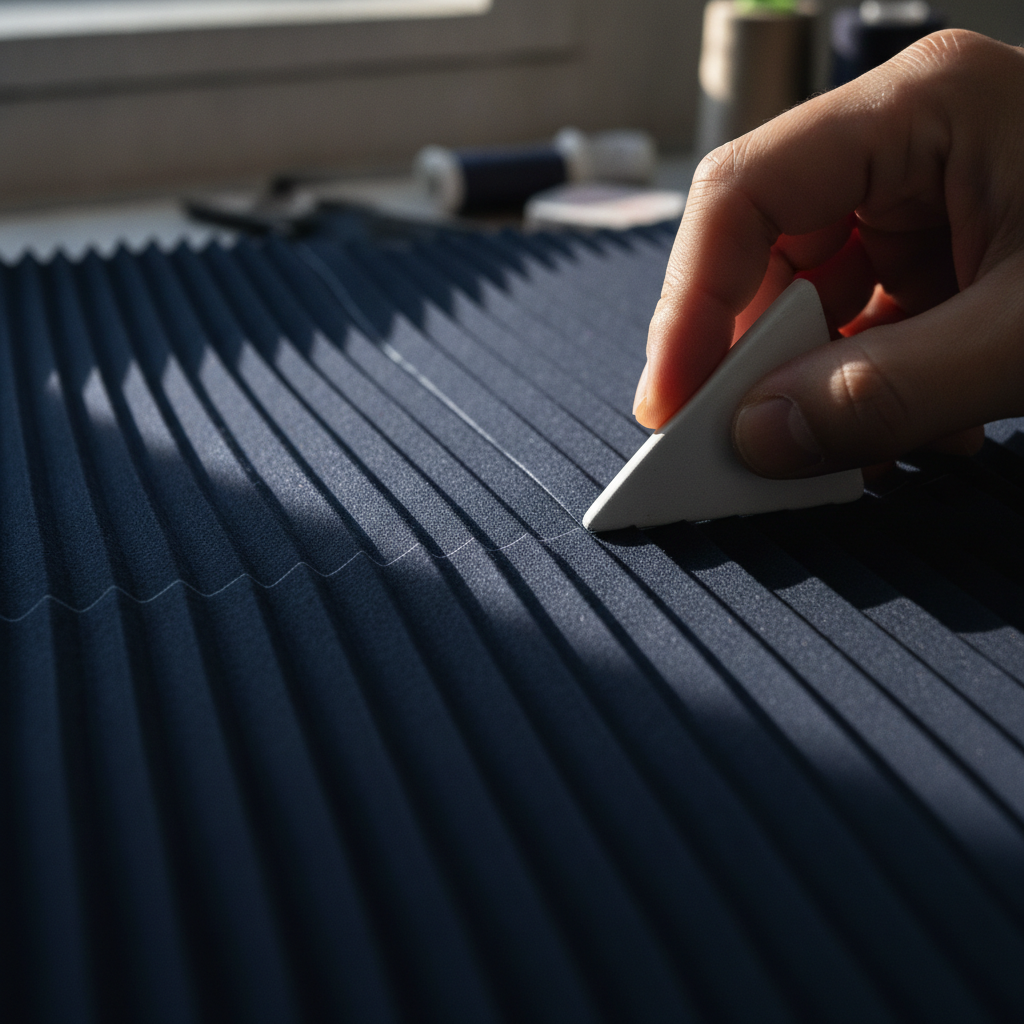
Transferring pleat geometry from your drafting ledger onto raw cloth requires an unambiguous marking system. Relying on simple notches on the fabric edge is insufficient; the folds must be marked across the entirety of the waist and hip levels using chalk lines parallel to the warp.
For a continuous knife pleat series, master tailors employ the Three-Mark Repeat:
- Mark A (Crest Fold Line): The point where the cloth will be sharply folded on the outside.
- Mark B (Valley Underlay Line): The deepest interior point where the cloth reverses direction behind the face.
- Mark C (Placement Target Line): The target line onto which Mark A is brought and pinned.
On your cutting table, using fine tailor’s pipe clay or disappearing dressmaker’s chalk, establish a square baseline perpendicular to the selvage. Work across the width of the cloth from left to right, ruling vertical chalk lines at exact calculated intervals. For continuous 3 cm knife pleats with full underlays, the chalk repeat sequence is simply measured at intervals of 3 cm, 6 cm, 9 cm, 12 cm, across the yardage.
For spaced pleats (where flat spaces separate the folds), the sequence shifts to: [Pleat Face] → [Underlay 1] → [Underlay 2] → [Spacing Gap]. Maintain disciplined consistency across every panel to ensure the final pleat resolves perfectly into your side seams or closure plackets without awkward partial folds.
The Hip-to-Waist Dilemma: Tapering Underlays
One of the most profound differences between an amateur pleated skirt and an atelier garment is the treatment of hip-to-waist suppression. The human pelvis expands significantly from the natural waistline down to the fullest point of the hips (typically an 18 to 22 cm drop).
If you fold and baste straight, rectangular pleats based on the hip circumference and simply cinch them with a waistband, the waist will become an unwearable, bulky ring of compressed cloth. Conversely, if you calculate pleats based solely on the waist, the pleats will burst and gape over the hips.
The Couture Solution: Graded Underlay Tapering
The garment width must be calculated to fit the fullest hip measurement plus wearing ease (typically 4 to 6 cm of ease for wool). The excess circumference between hip and waist is then absorbed invisibly by tapering the pleat underlays:
- Calculate total waist reduction:
Total Waist Suppression = Hip Circumference (with ease) - Waist Circumference (with ease). - Divide the total suppression by the total number of pleats:
Suppression per Pleat = Total Waist Suppression ÷ Pleat Count. - Distribute this reduction strictly into the underlays. At the waistline edge, shift the interior valley fold inward by half the calculated suppression on each side of the underlay. The exterior pleat face remains perfectly straight and parallel on the straight grain, while the hidden underlay angles subtly inward from hip line to waist.
This technique concentrates the shaping within the concealed interior architecture, maintaining clean, plumb exterior lines without introducing dart seams.
Atelier Basting, Hemming, and Pressing Protocol
Once chalked and folded, do not rely on metal pins; their weight and thickness distort the drape of the cloth. Instead, execute the following finishing sequence:
1. Hemming Before Creasing
In couture skirts, finish the lower hem edge before pressing the final pleat creases. Hemming an already-creased pleat bed disrupts the razor-sharp folds and produces uneven hem depths. Hem the flat panel using a flexible blind catch-stitch or tailored horsehair braid facing, press it flat, and then fold the pleats through the hemmed edge.
2. The Double Basting Grid
Secure the folded pleats with two horizontal rows of silk basting thread: one row 1 cm below the waist seamline, and a second stabilizing row at the hip line. For full-length skirts, a third row of loose herringbone basting 15 cm above the hem keeps the pleat underlays aligned on the ironing board.
3. The Clapper Technique
Place the basted panel face-down on a firm press board covered with an untreated wool pressing blanket. Use a damp linen press cloth and a heavy dry iron set to the wool heat setting. Apply steam generously, but lift the iron without sliding it to avoid stretching the grain. Immediately follow the iron with an unfinished hardwood tailor’s clapper, applying firm downward body weight for 10 to 15 seconds. The wood absorbs the trapped steam and rapidly cools the fibers, locking the pleat crest into a permanent, knife-sharp edge.
Designing Complete Ensembles
Drafting complex pleat architecture requires absolute confidence in your foundational measurements and silhouettes. Before cutting your luxury fabrics, test proportions and style lines with our Fashion Sketchpad. Once you have established your waist stays and hip curves, select the correct structural support for your waistband by referencing our Interfacing Guide to guarantee a waistband that supports the weight of a multi-meter pleated skirt without collapsing.
Do you enjoy the content on Agenda Creativa?
Your contributions help me create new articles, share creative ideas, and keep this platform alive! If you like what I do and want to support my work, you can buy us a coffee.
Every cup of coffee means more than just a gesture – it's direct support for my passion to create inspiring and useful content. Thank you for being part of this journey!
☕ Buy me a coffee